
Email campaign - creating your first campaign
Send email campaigns right from Hivepass using a built in newsletter editor, custom contact lists and scheduling.
In this article:
🔗 Email campaigns in Hivepass
Sending email campaigns from Hivepass is simple. Using the built in editor that features a couple of different templates ready to go, you can tailor the colours, photos, fonts and styles to suit your organisation and duplicate these campaigns to save time next time.
🖍️ For information on editing the newsletter templates, start with the Newsletter editor - the essentials. This article focuses on managing the settings for your campaign.
⚙️ Email campaign settings
To set up your first email campaign, go to Communications > Email Campaign
- Select New Email Campaign at the top right of the page. The newsletter templates will load.
- Select the template you wish to use then get the basic settings filled in;
-
Name: Name the campaign (this could be the name of a Monthly newsletter your organisation sends out, or a one off)
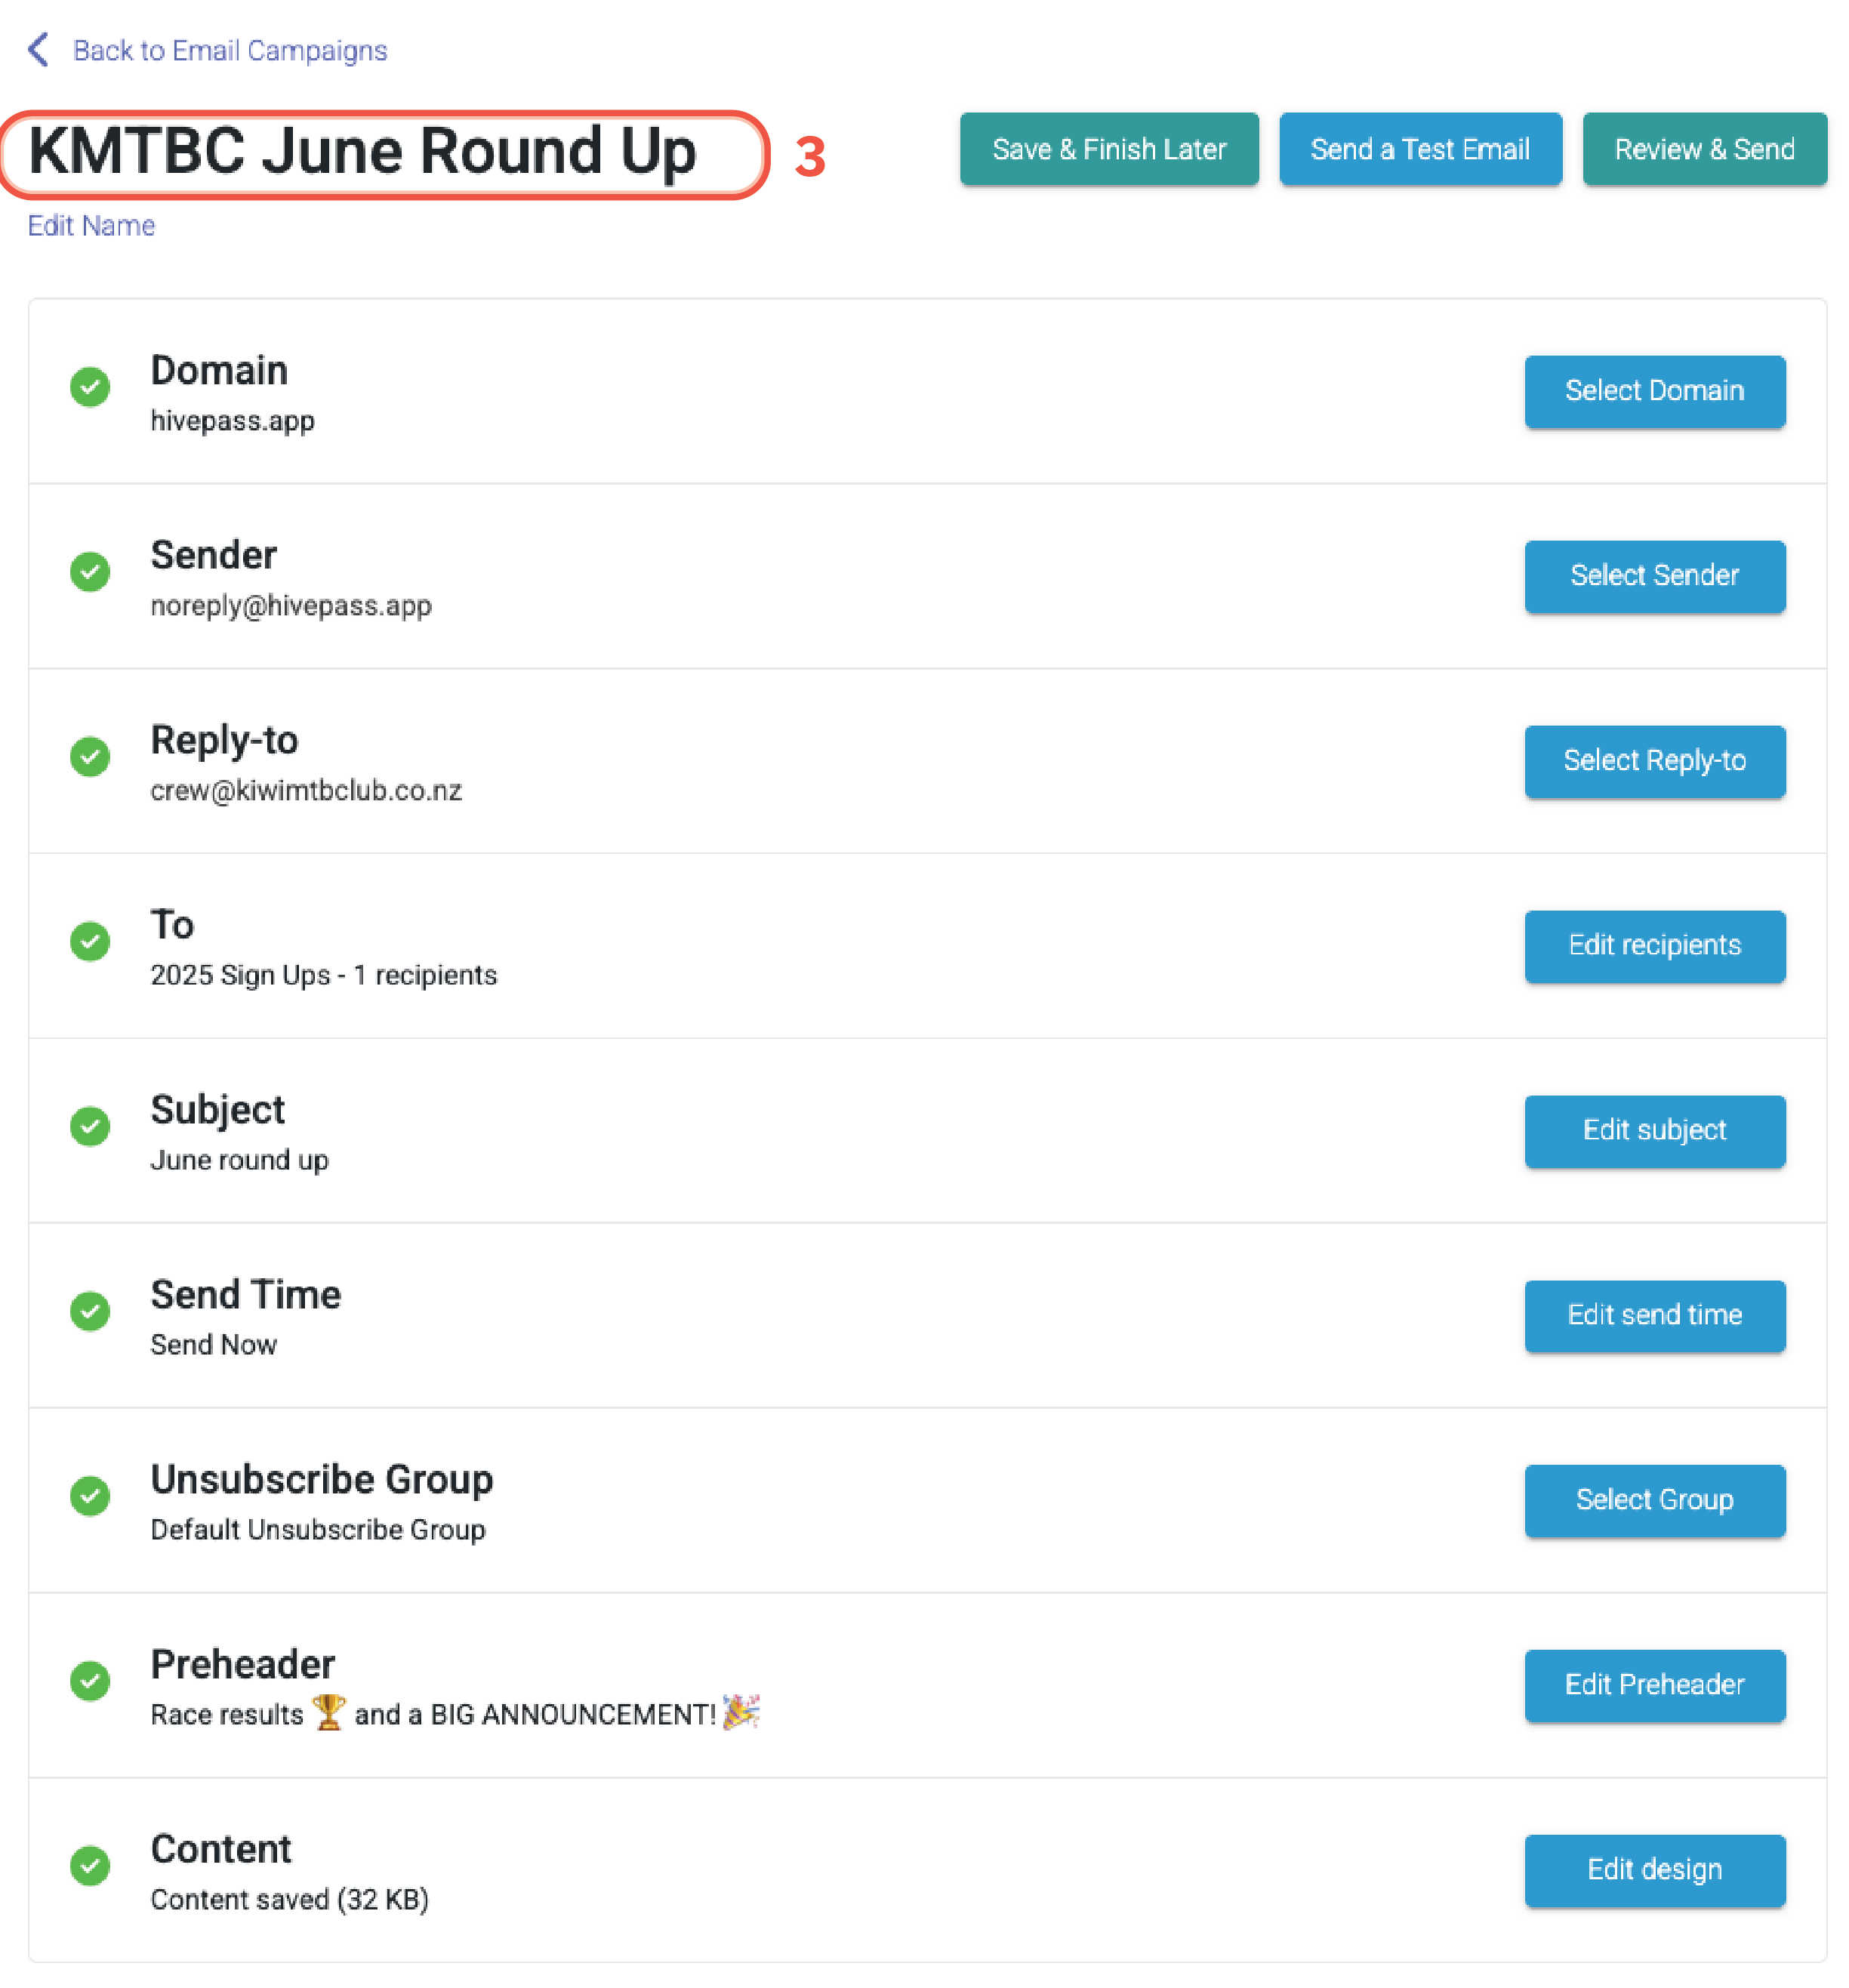
Example of 3. naming your campaign -
Domain: This will default to Hivepass, unless you have a custom domain you would prefer to use. A domain is simply your website's address, e.g. hivepass.app or yourclub.org. For steps on setting up a custom domain, see Add a custom domain.
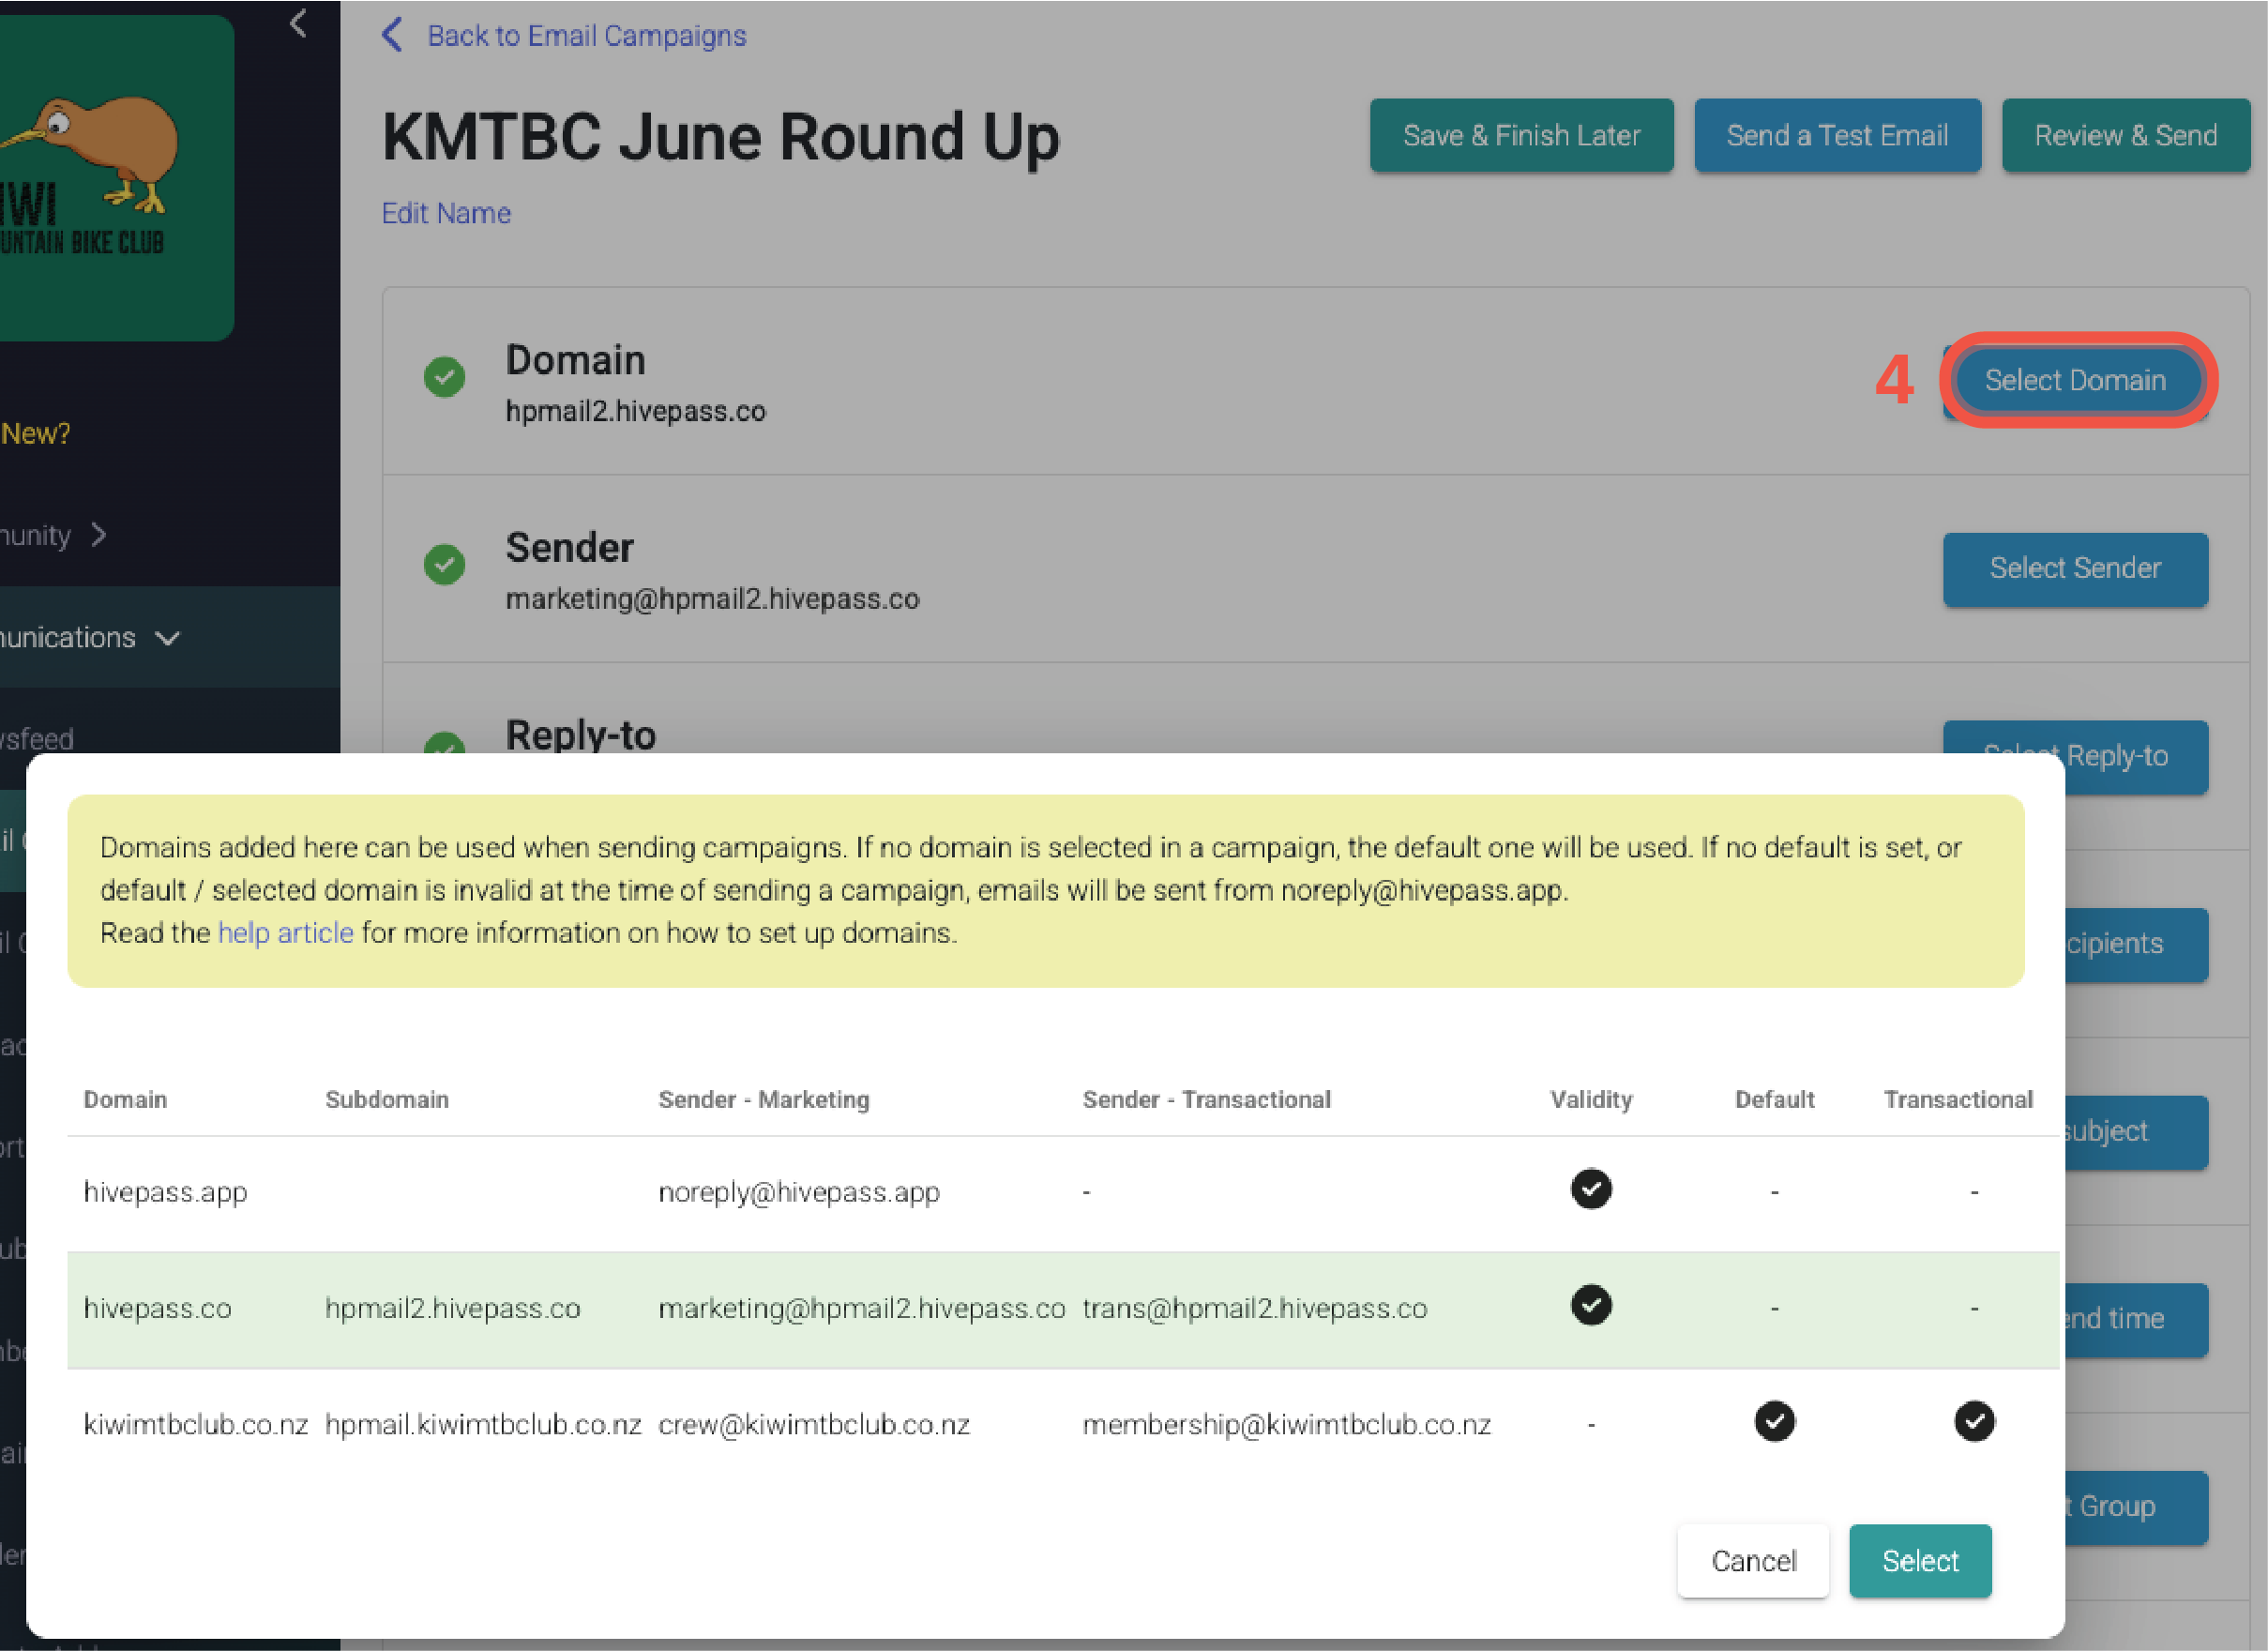
Example of 4. Selecting your domain -
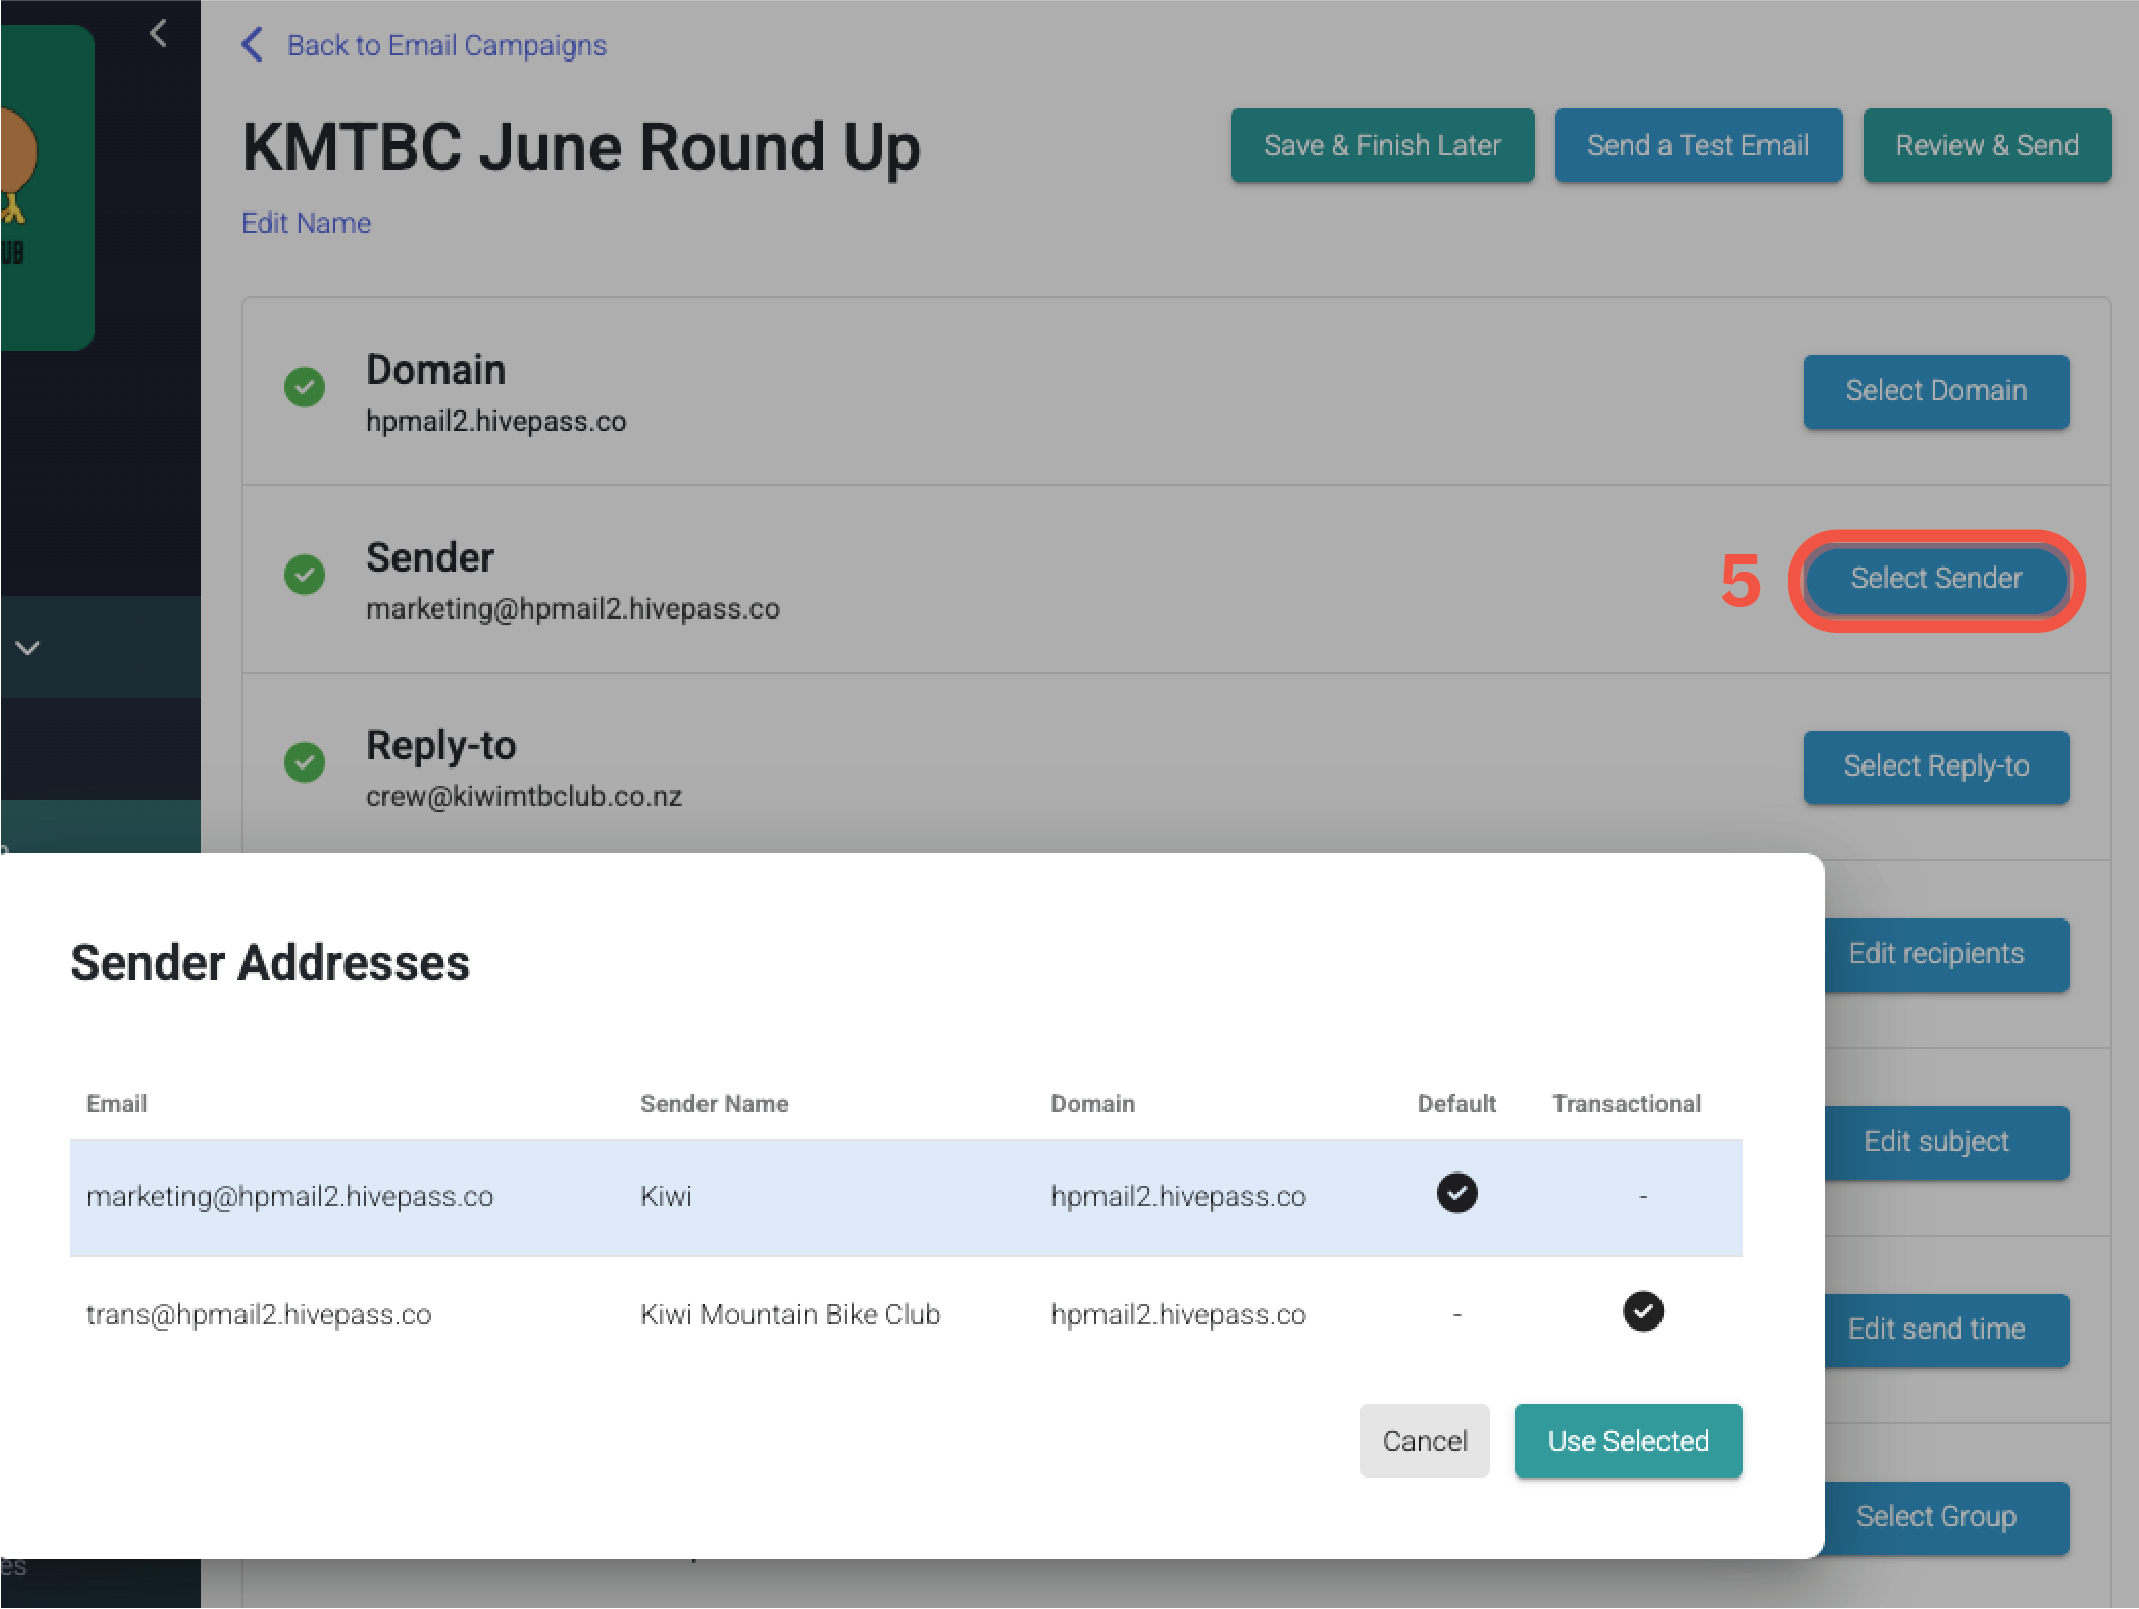
Sender Address: Select the address to send the email from.
Note: This option will only appear if your organisation has a custom domain set up.
-
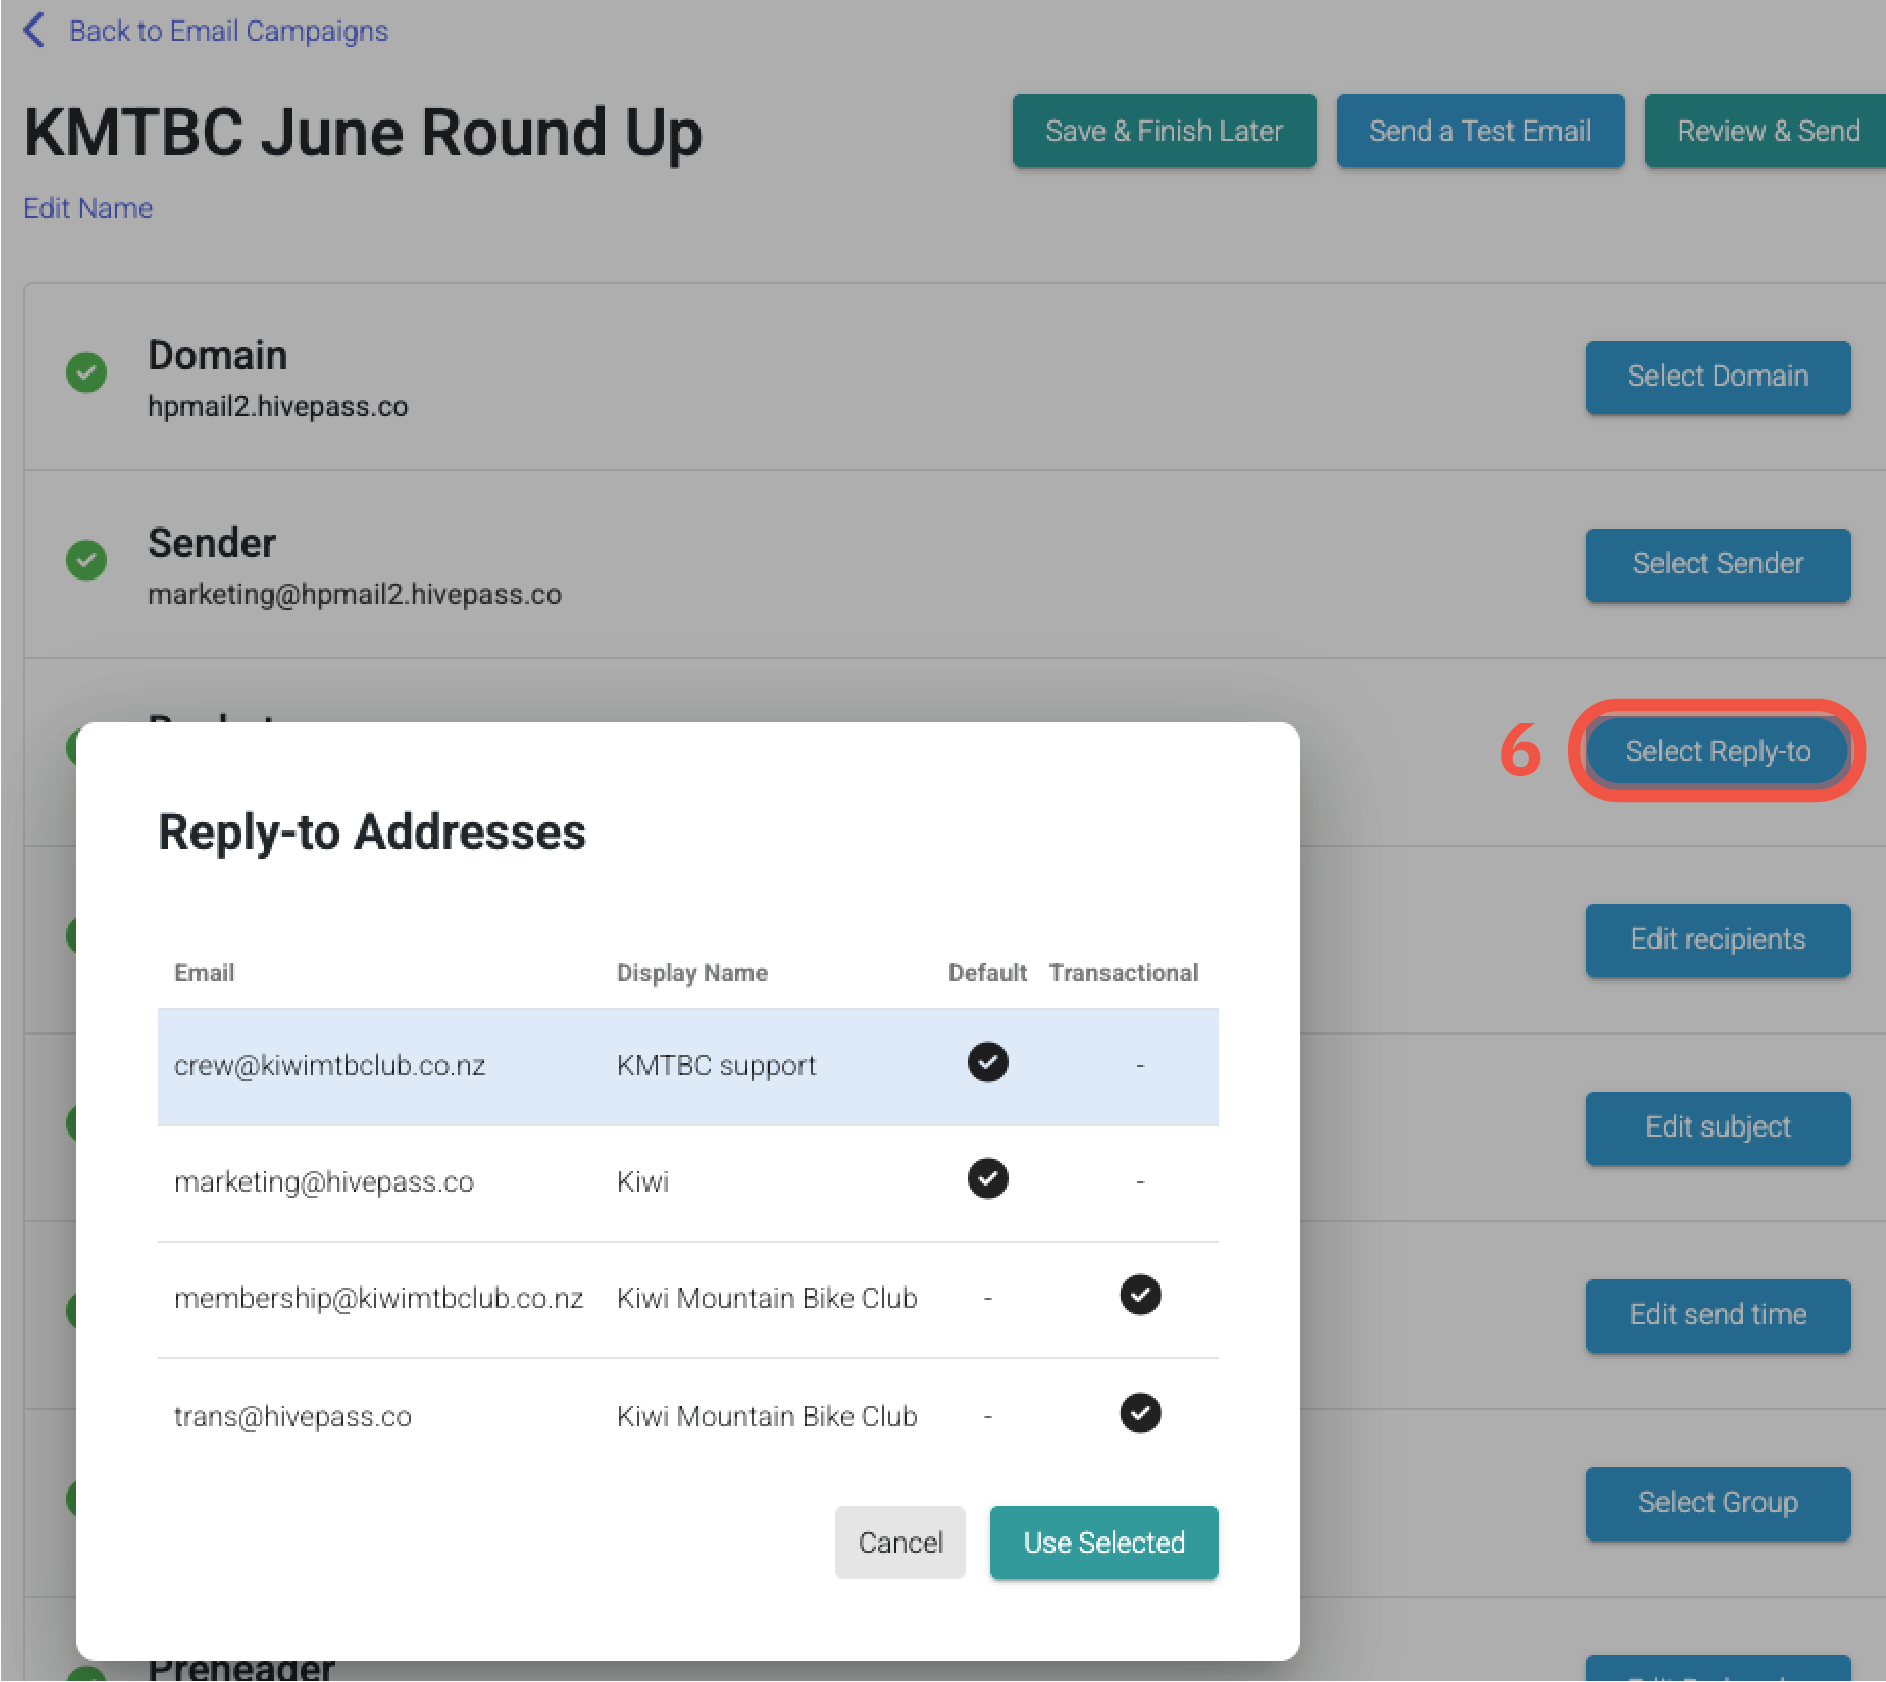
Reply-to address: Select your reply-to address here if you have a custom domain set up. This will default to noreply@hivepass.app if you do not have a custom domain.
-
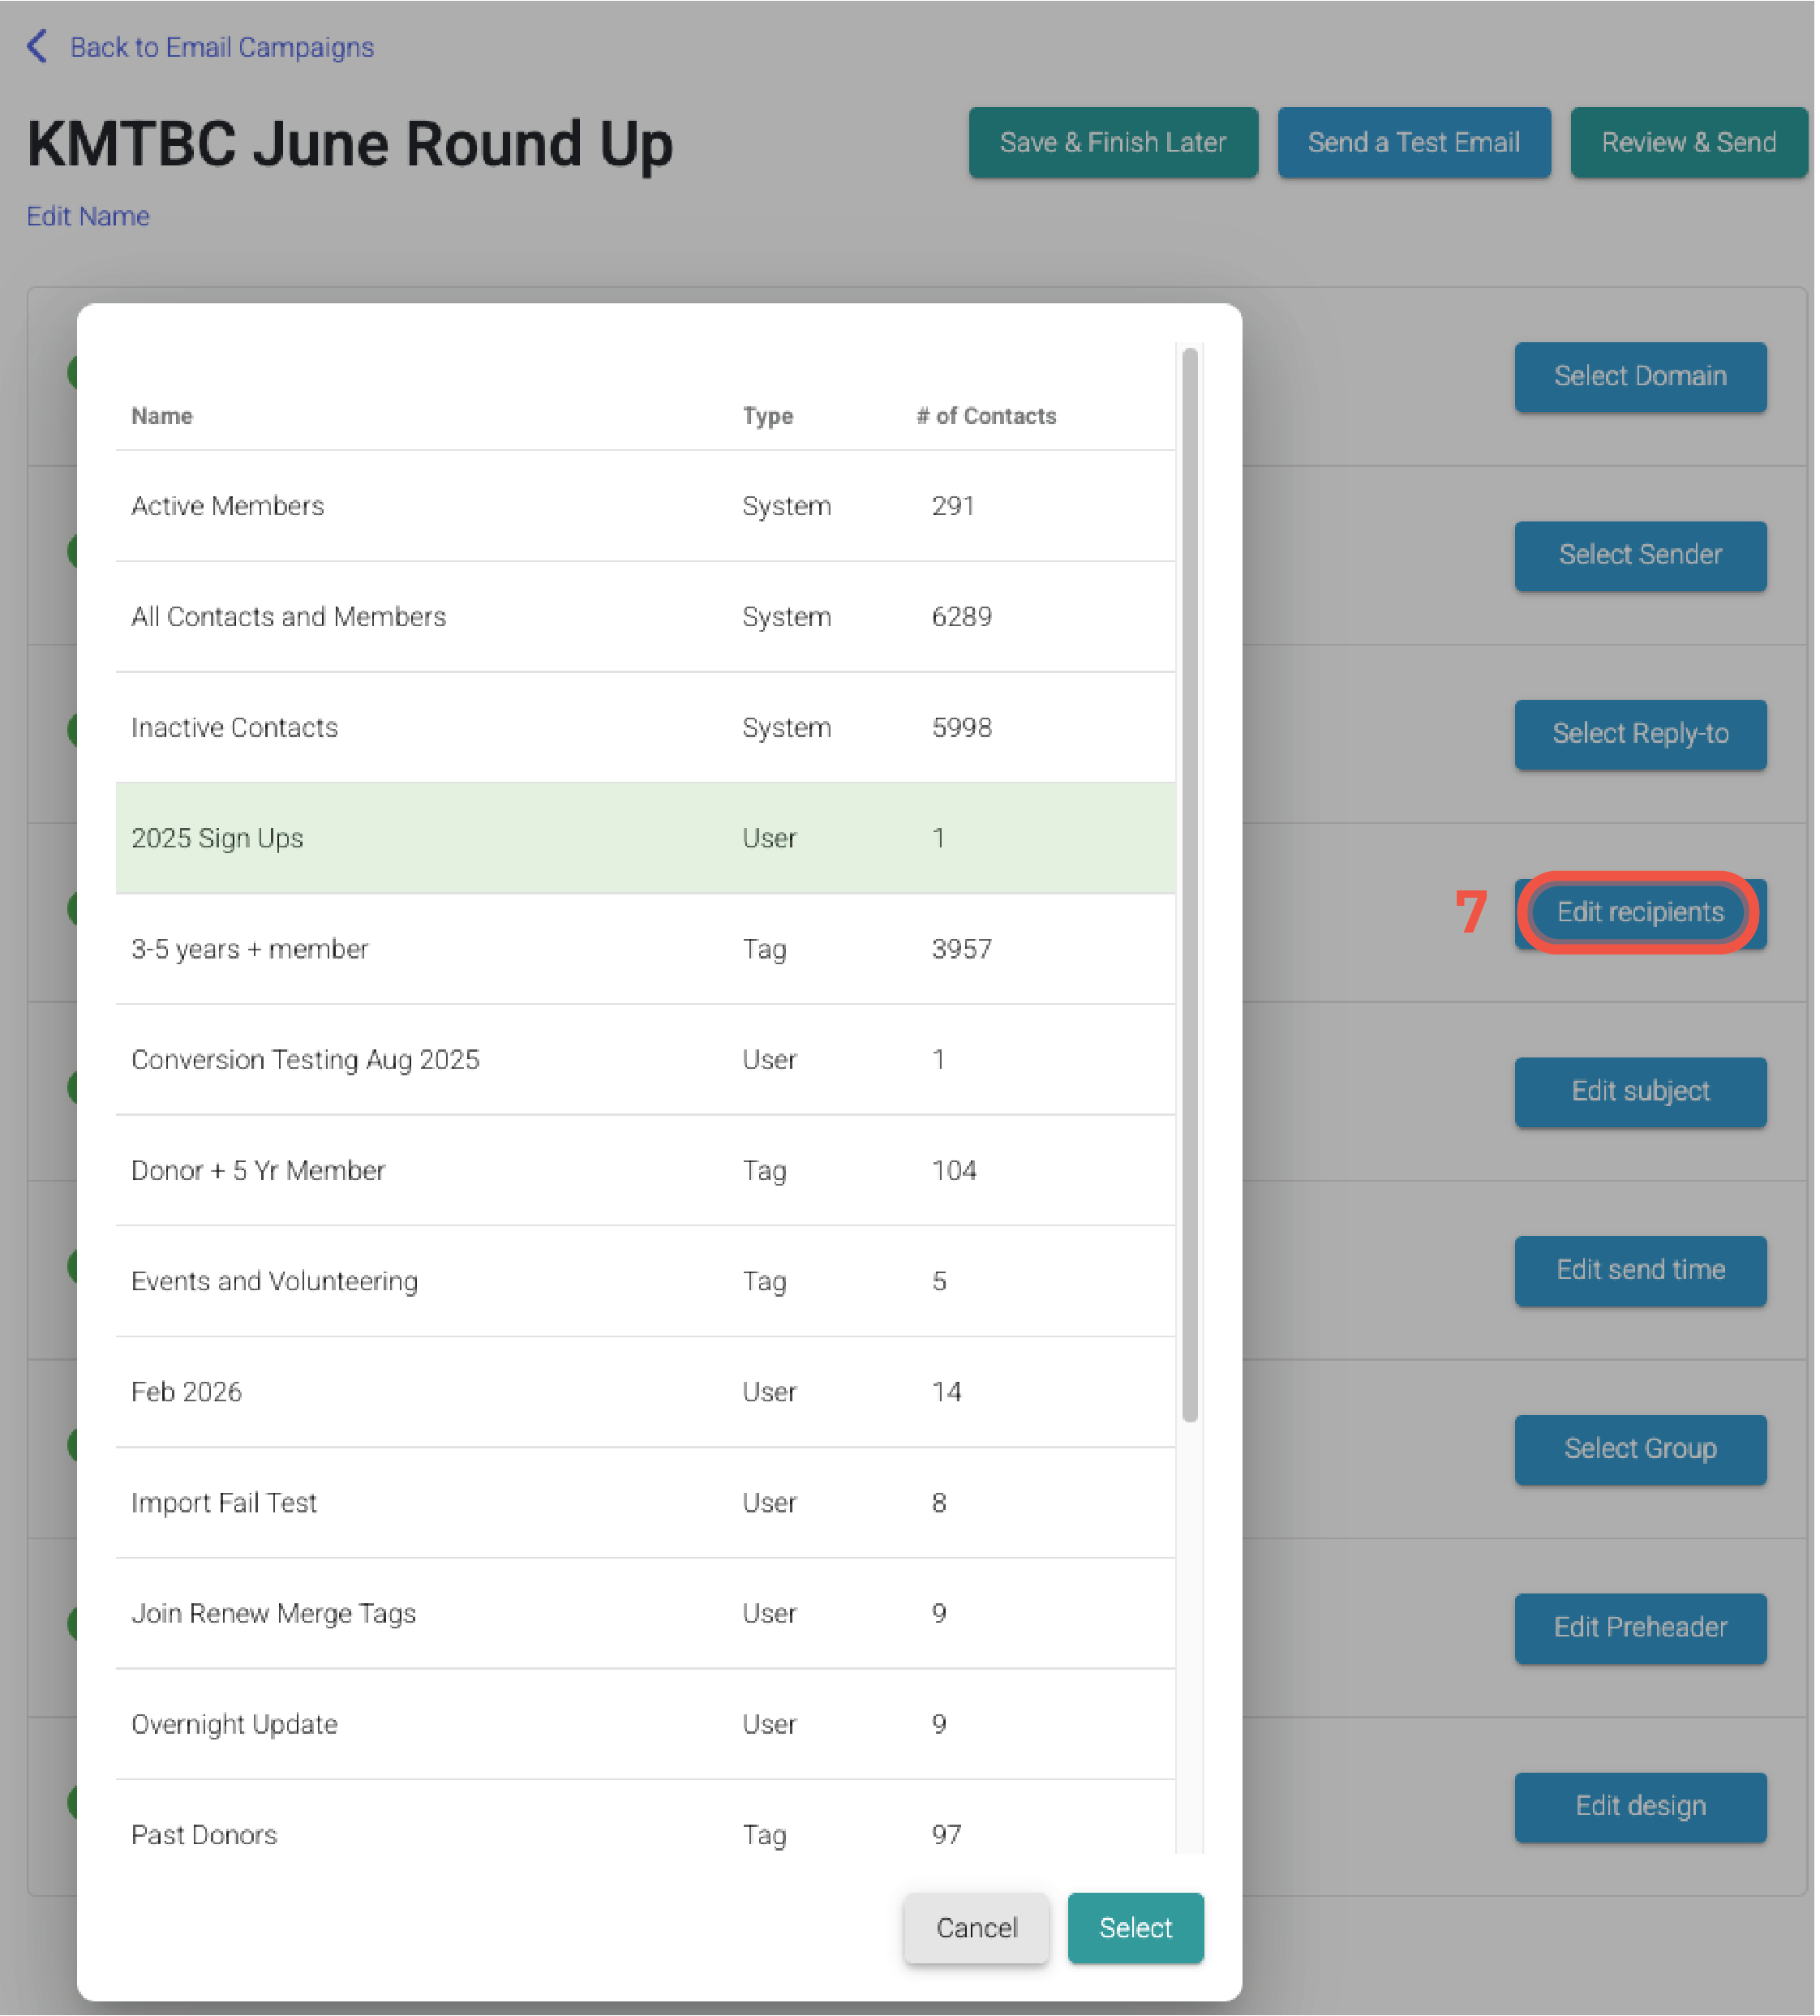
Edit recipients: Select the group of contacts to send the email to
-
Subject: Enter the subject - this will appear as the subject line in the recipients' inbox
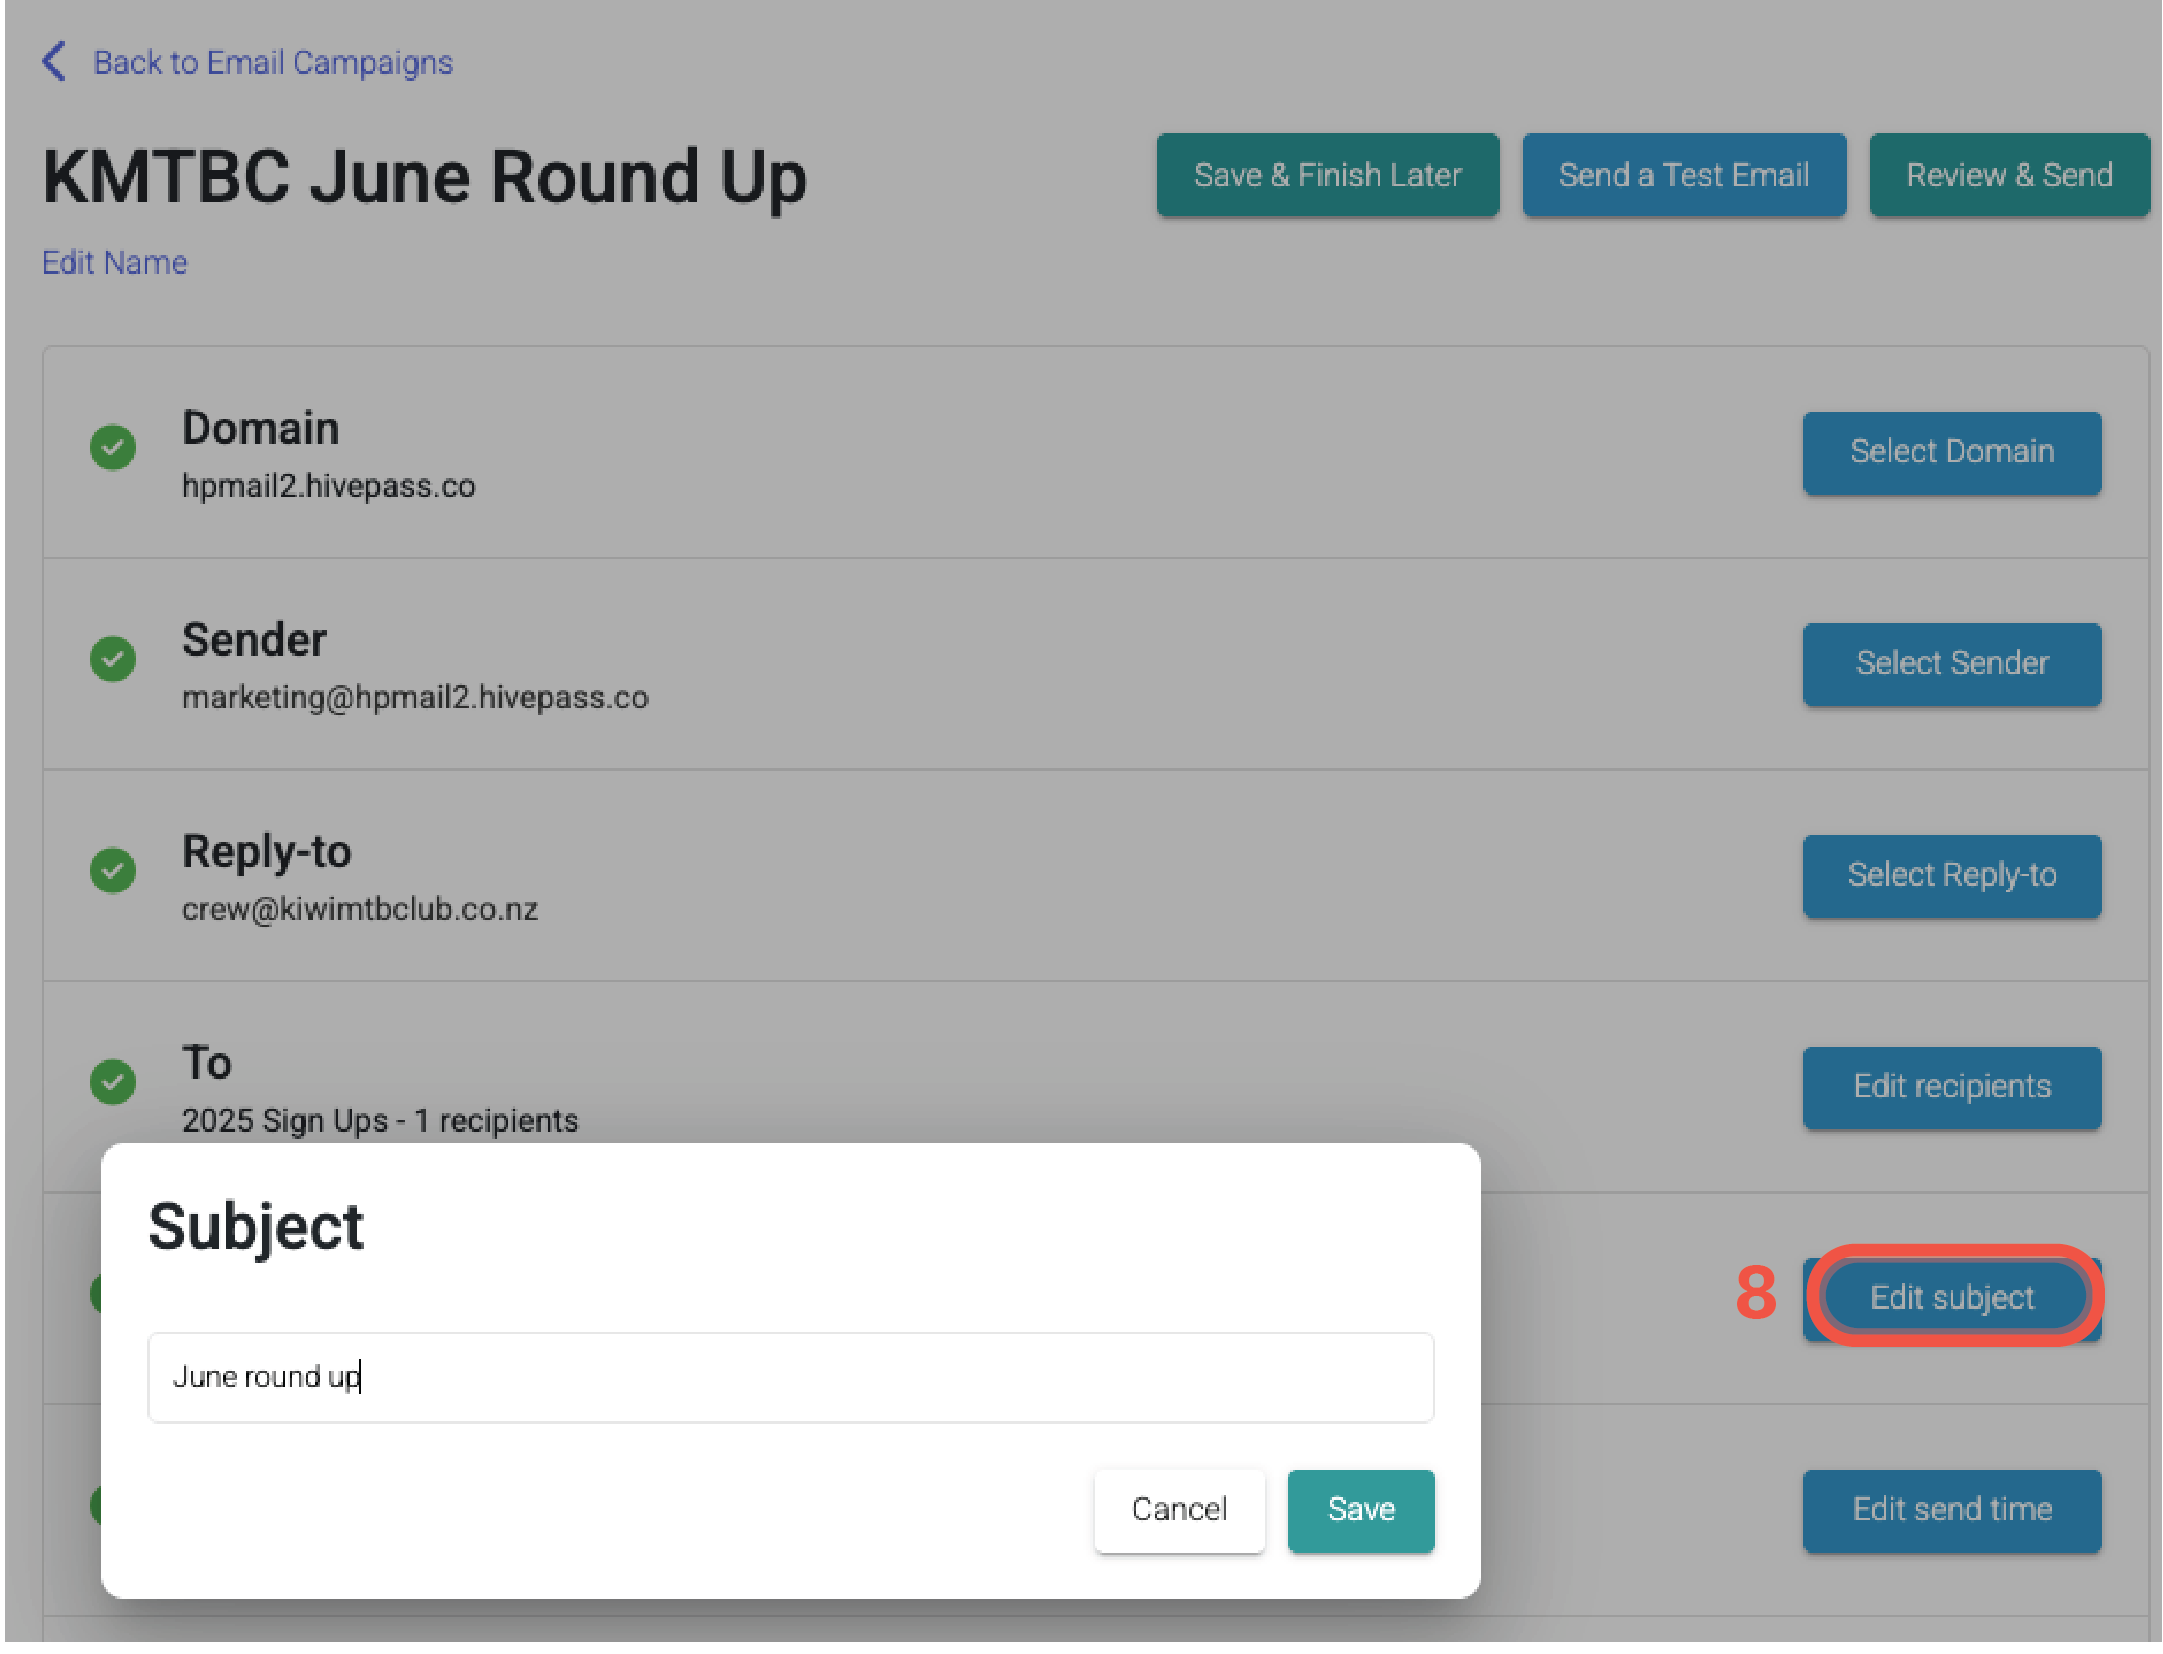
Example of 8. Giving the email a subject -
Send Time: Schedule the email by setting a date and time. You can schedule up to a month in the future. Or select 'send immediately' - the email will send within the next 15 minutes.
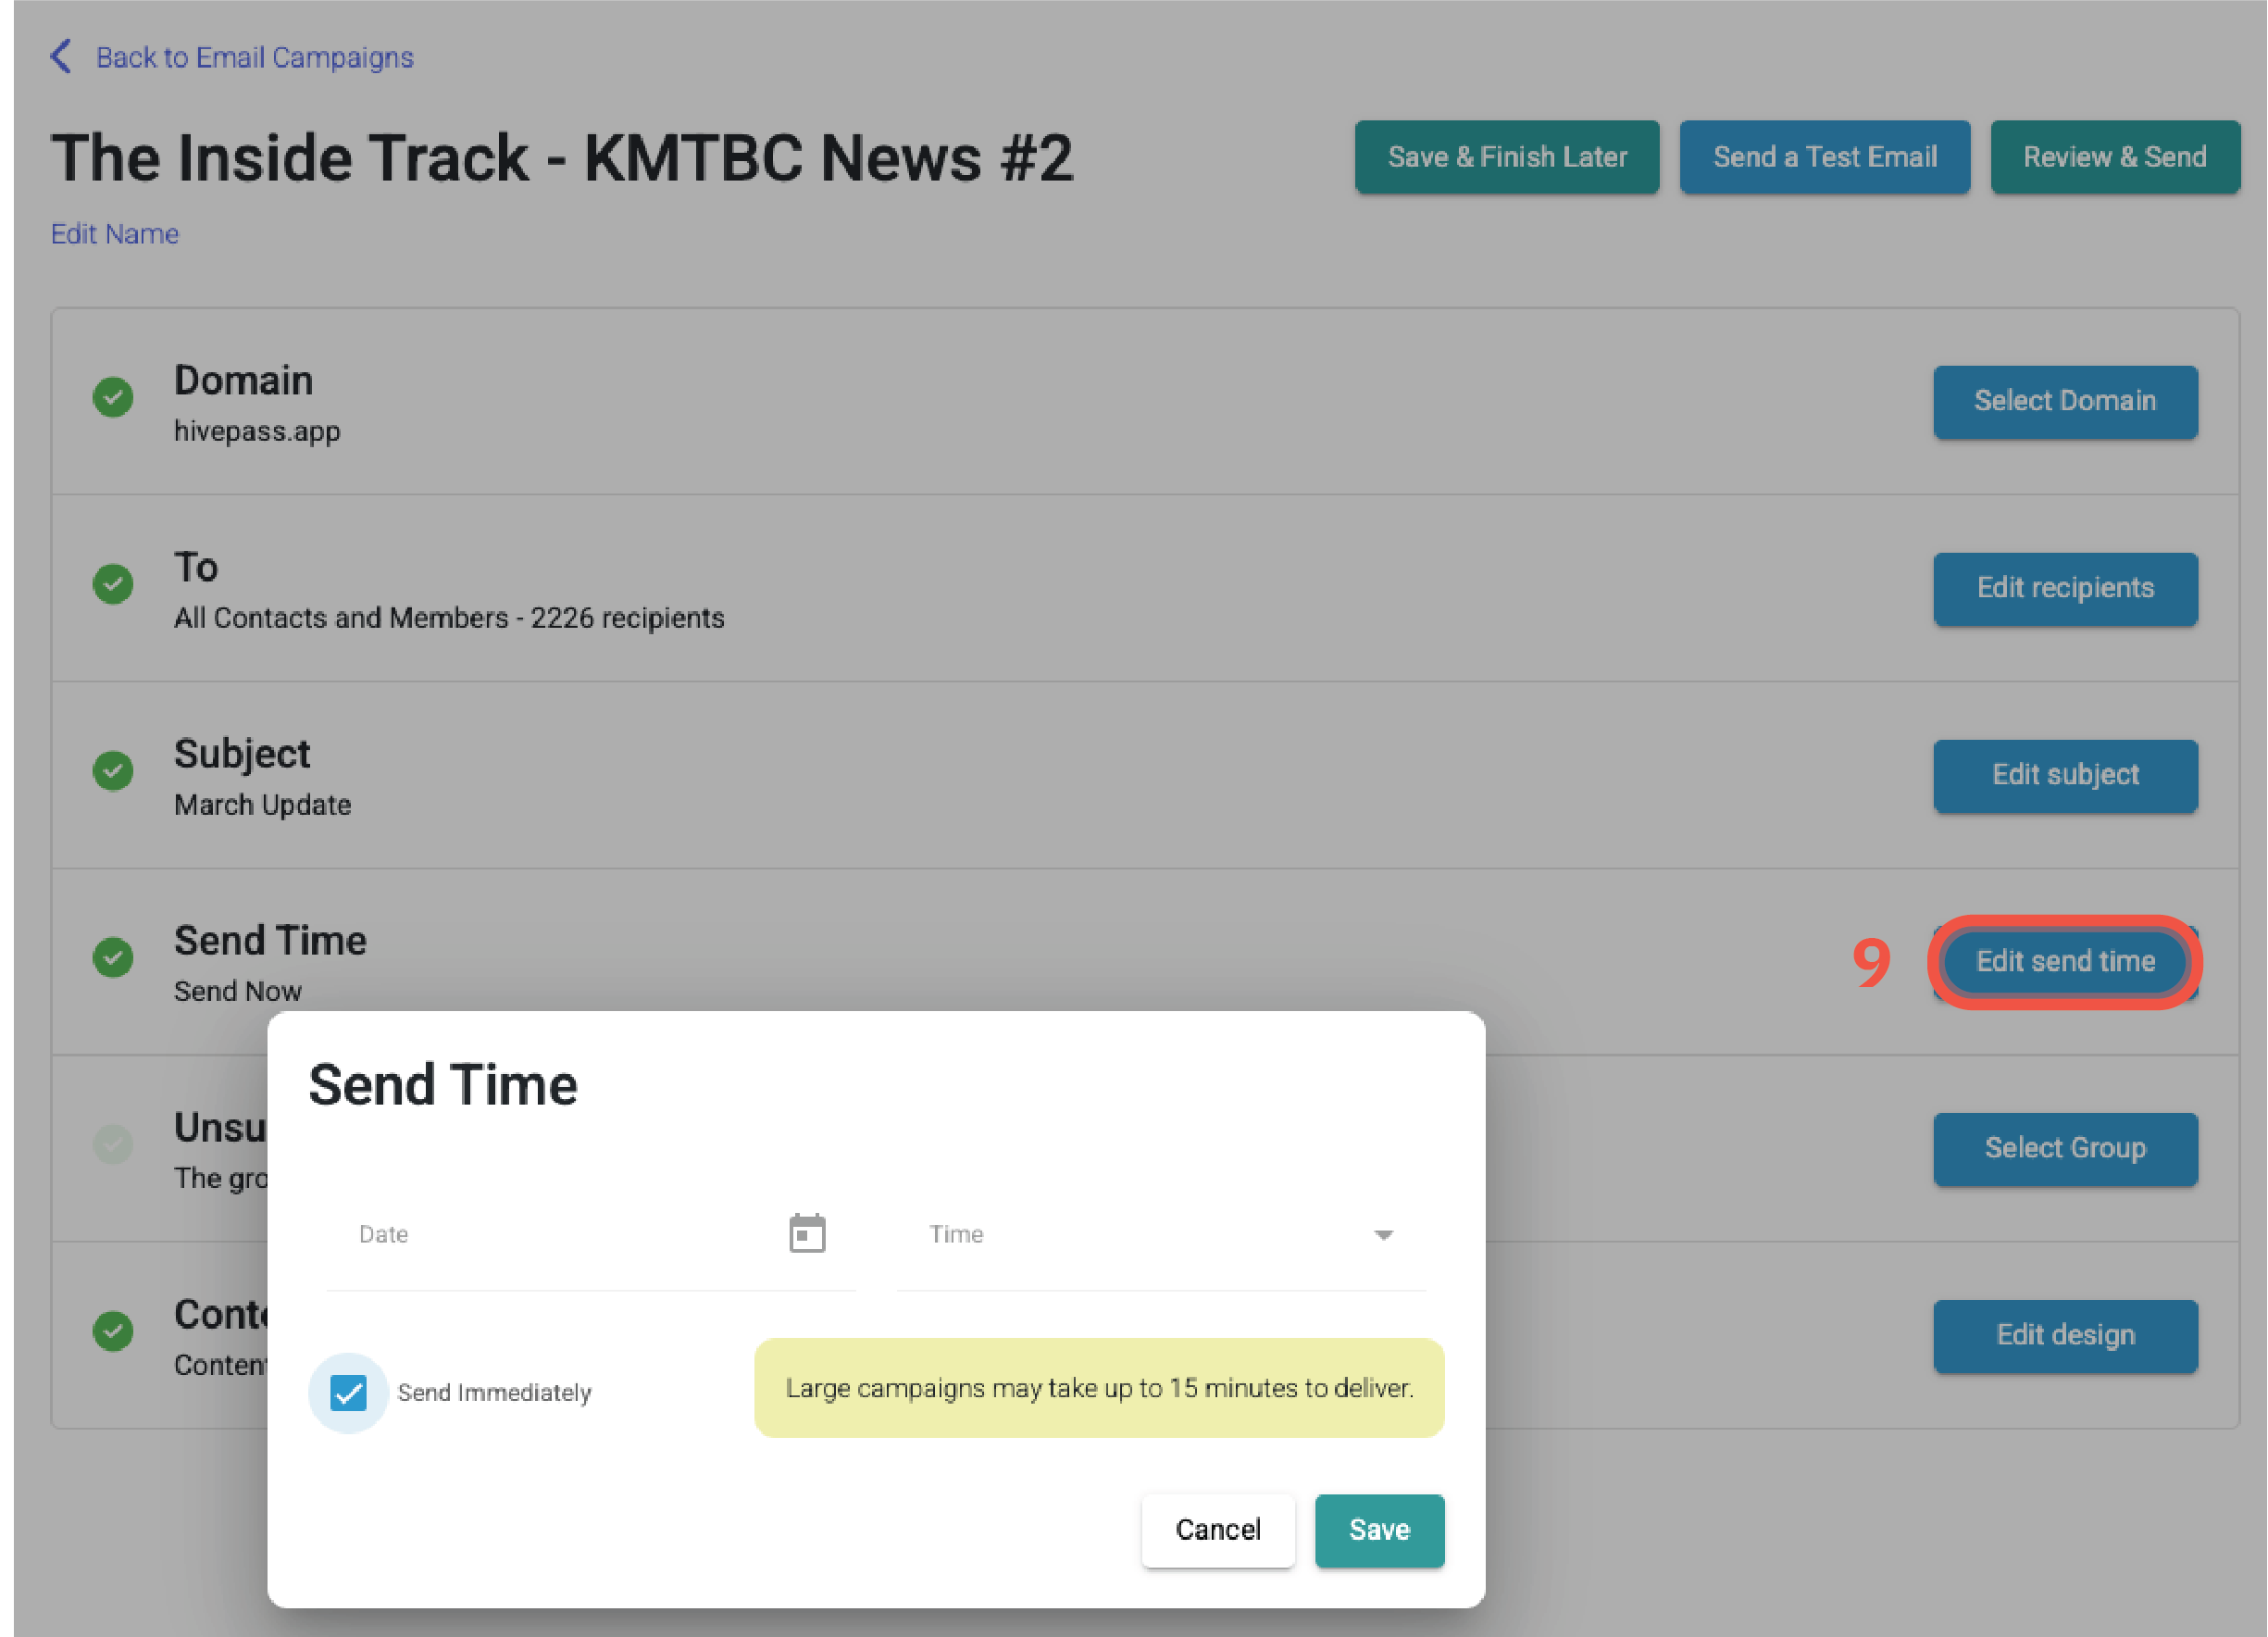
Send immediately -
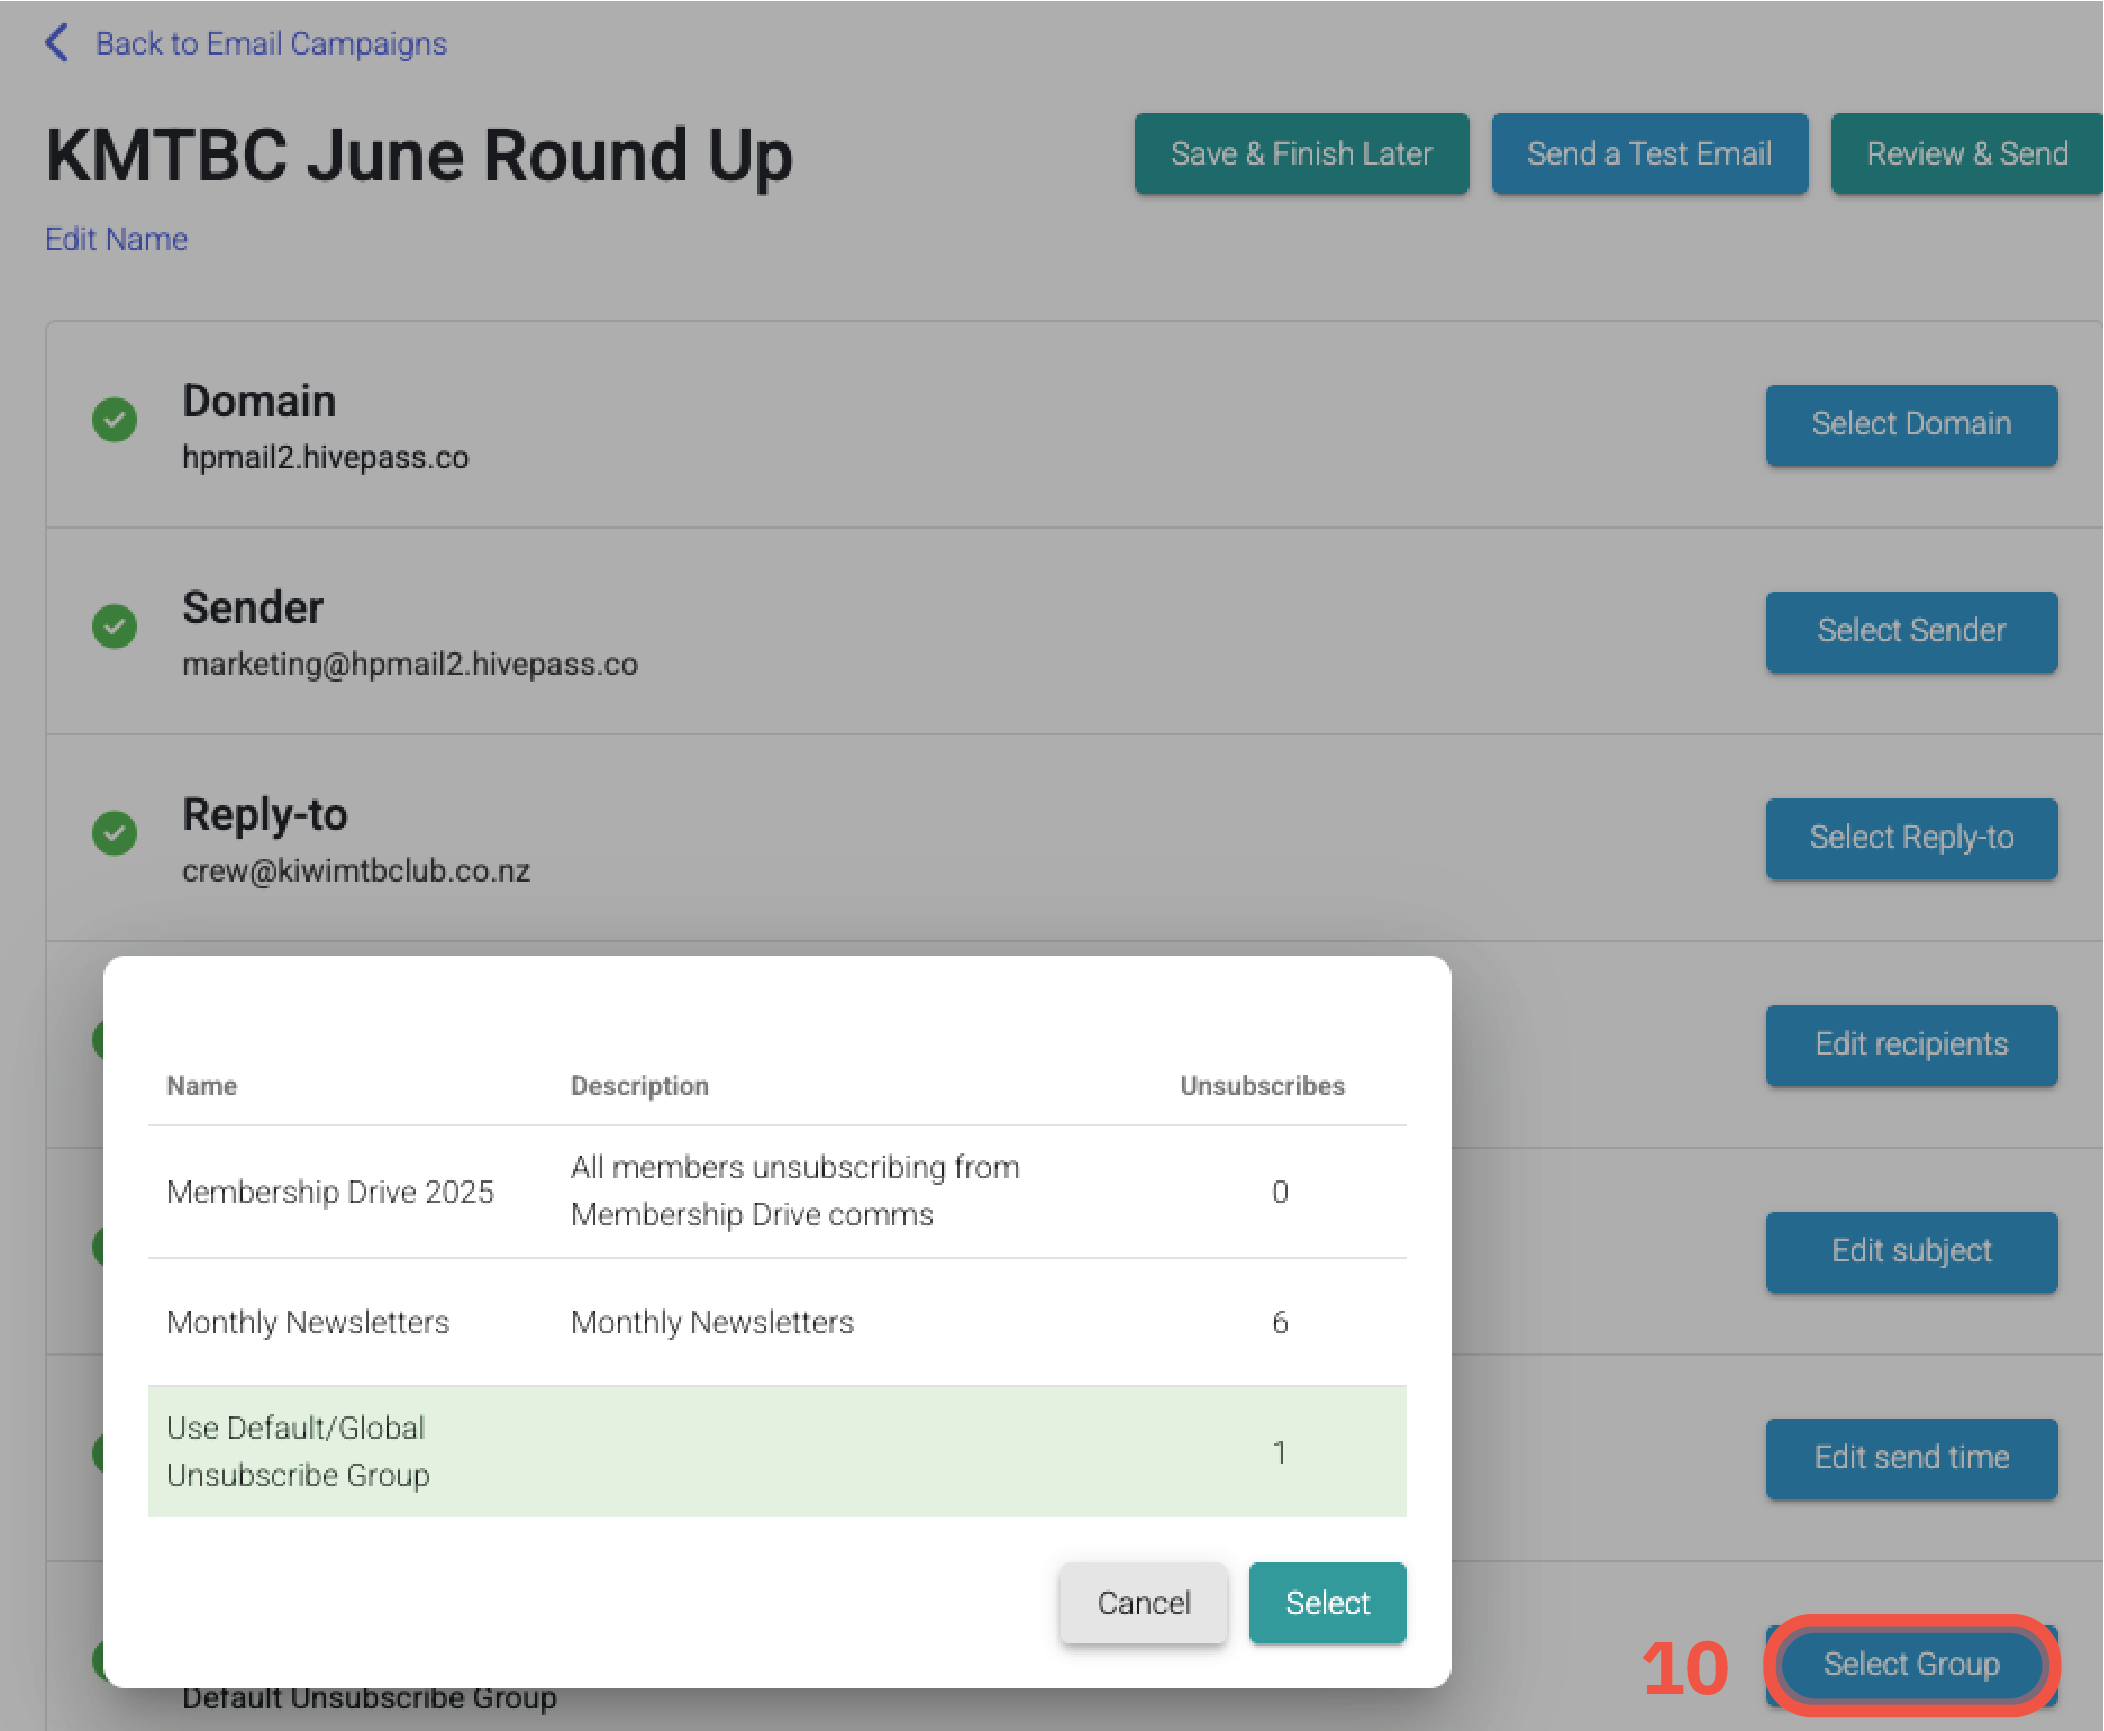
Unsubscribe Group: Select unsubscribe group. Hivepass creates a default group for this - for more information on unsubscribe groups, see the Email campaign - contact lists doc.
-
Add a preheader: A preheader is the short summary text typically found next to or below the subject line in email inboxes. An eye-catching preheader helps with open rates.
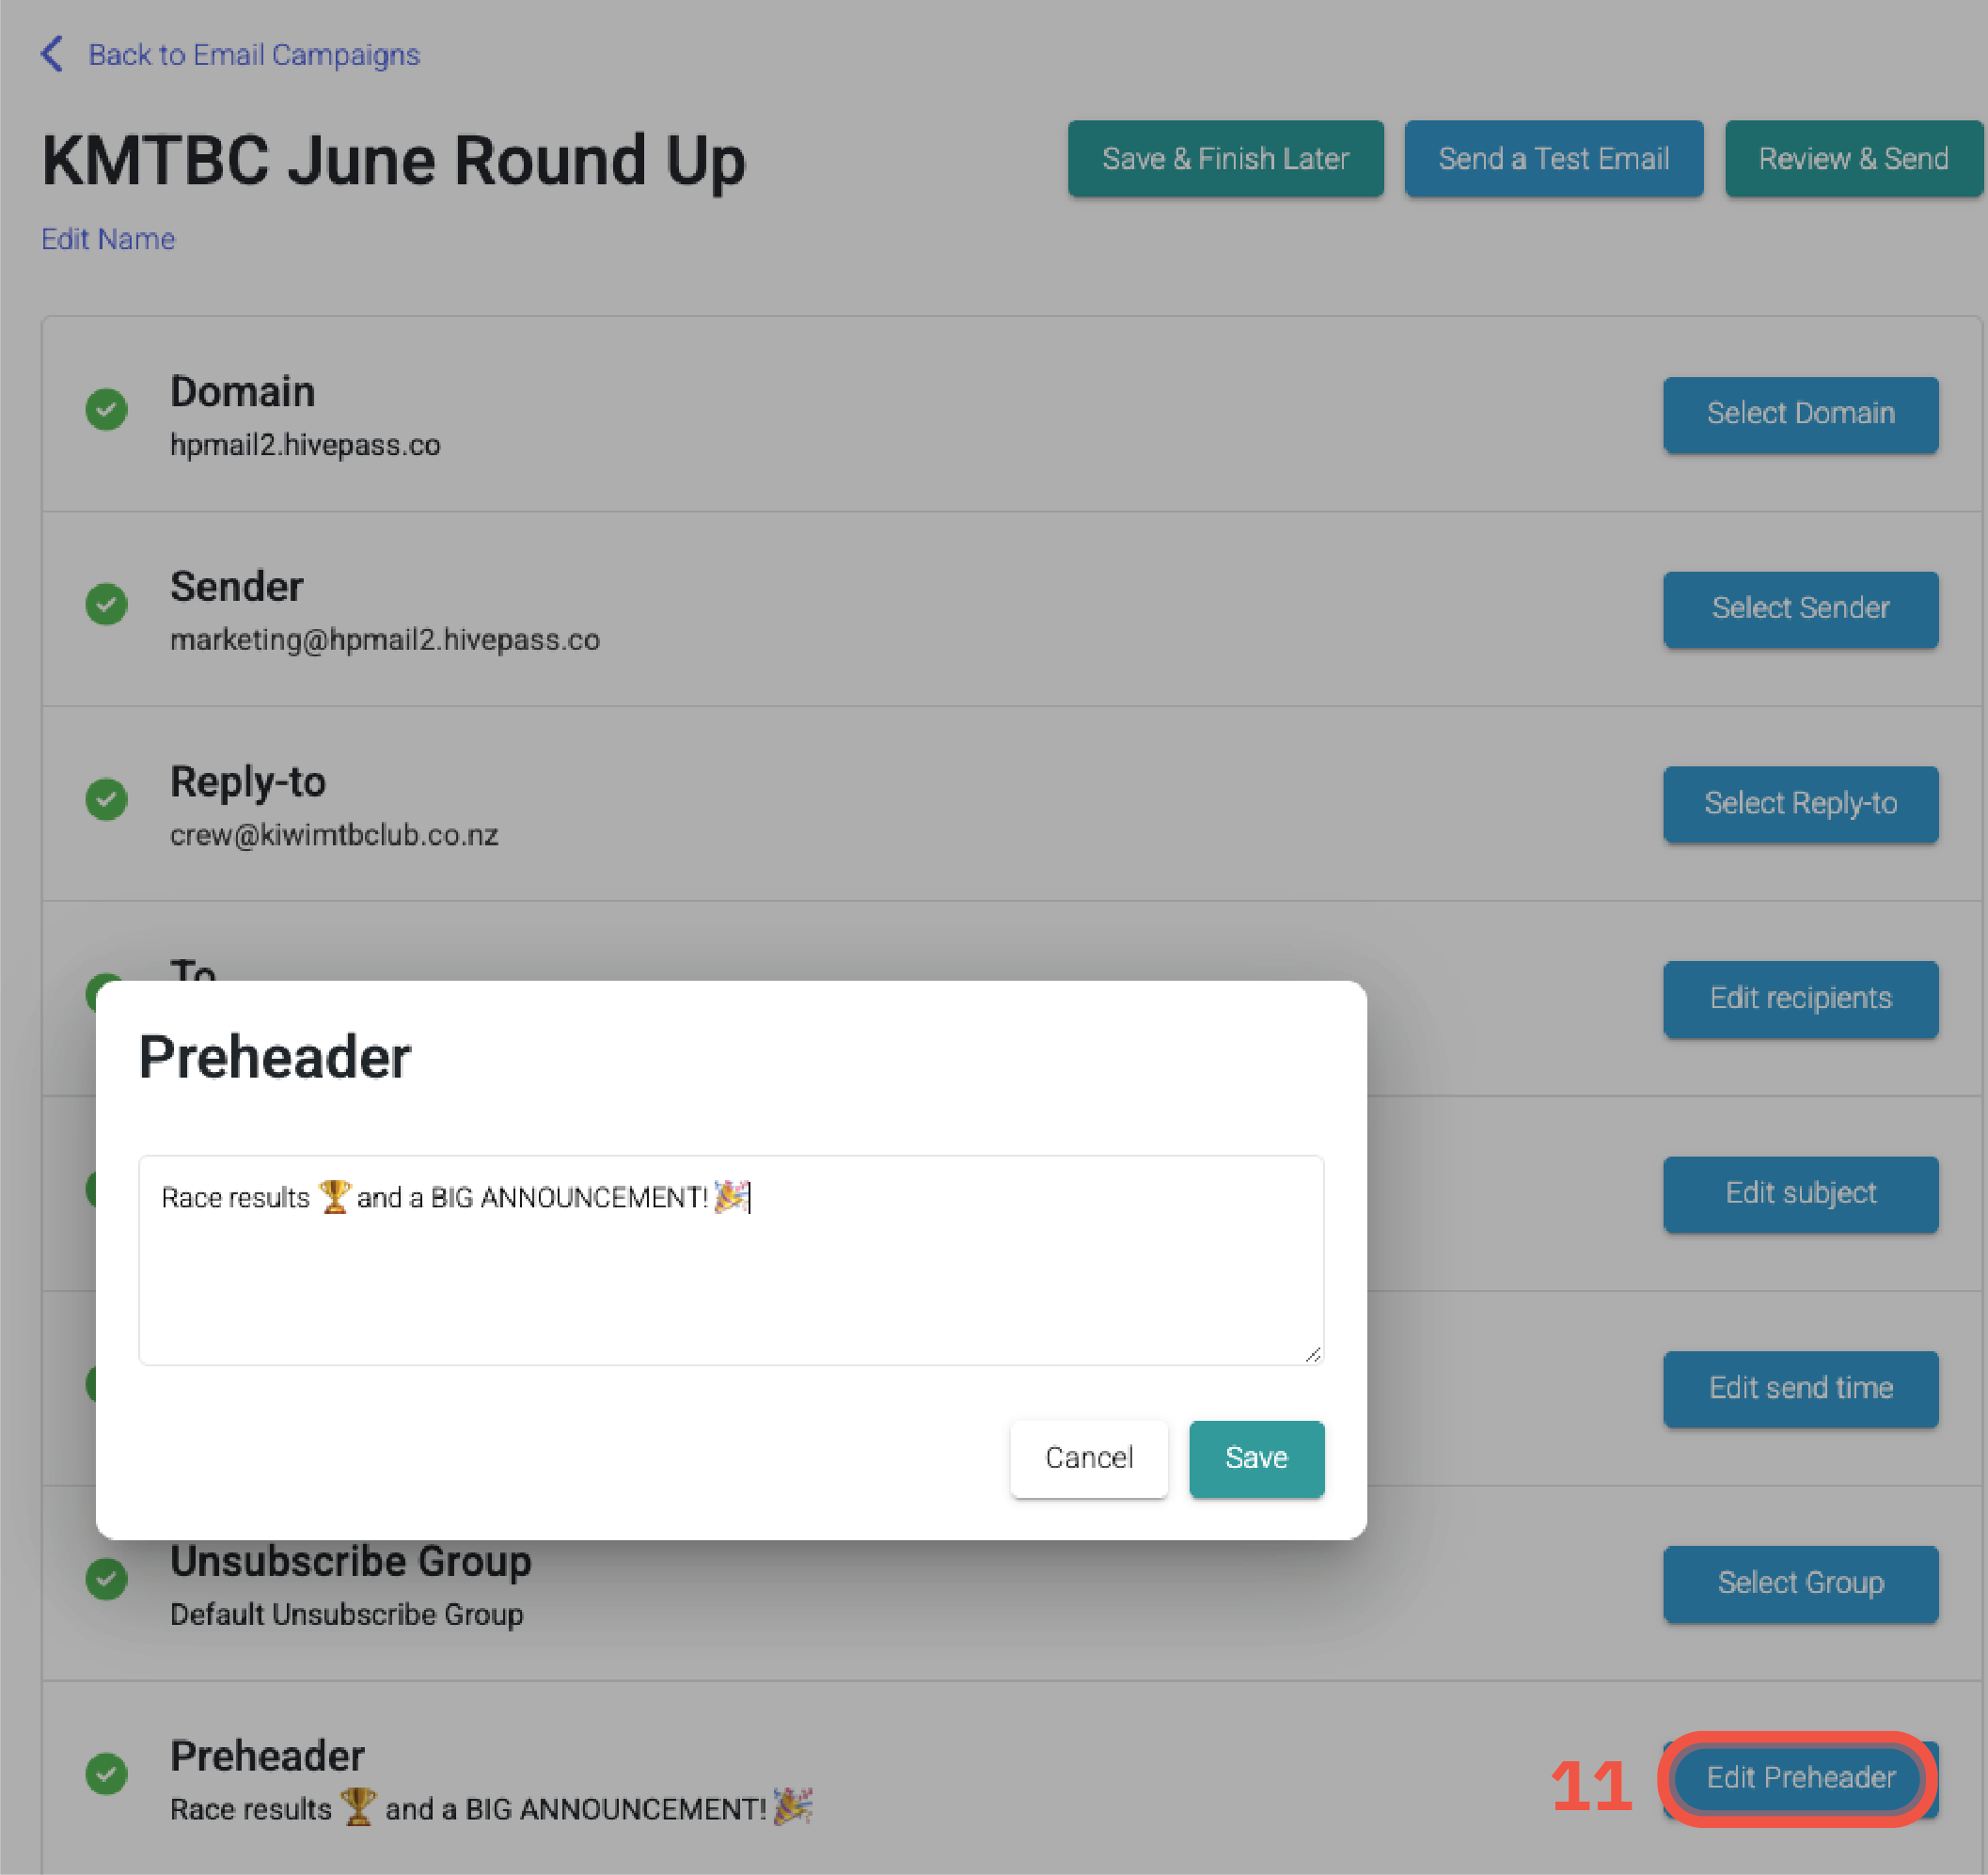
-
Edit Design: Begin populating the template with your content. The newsletter editor series of articles listed at the bottom of the page can help if anything in the editor isn't clear.
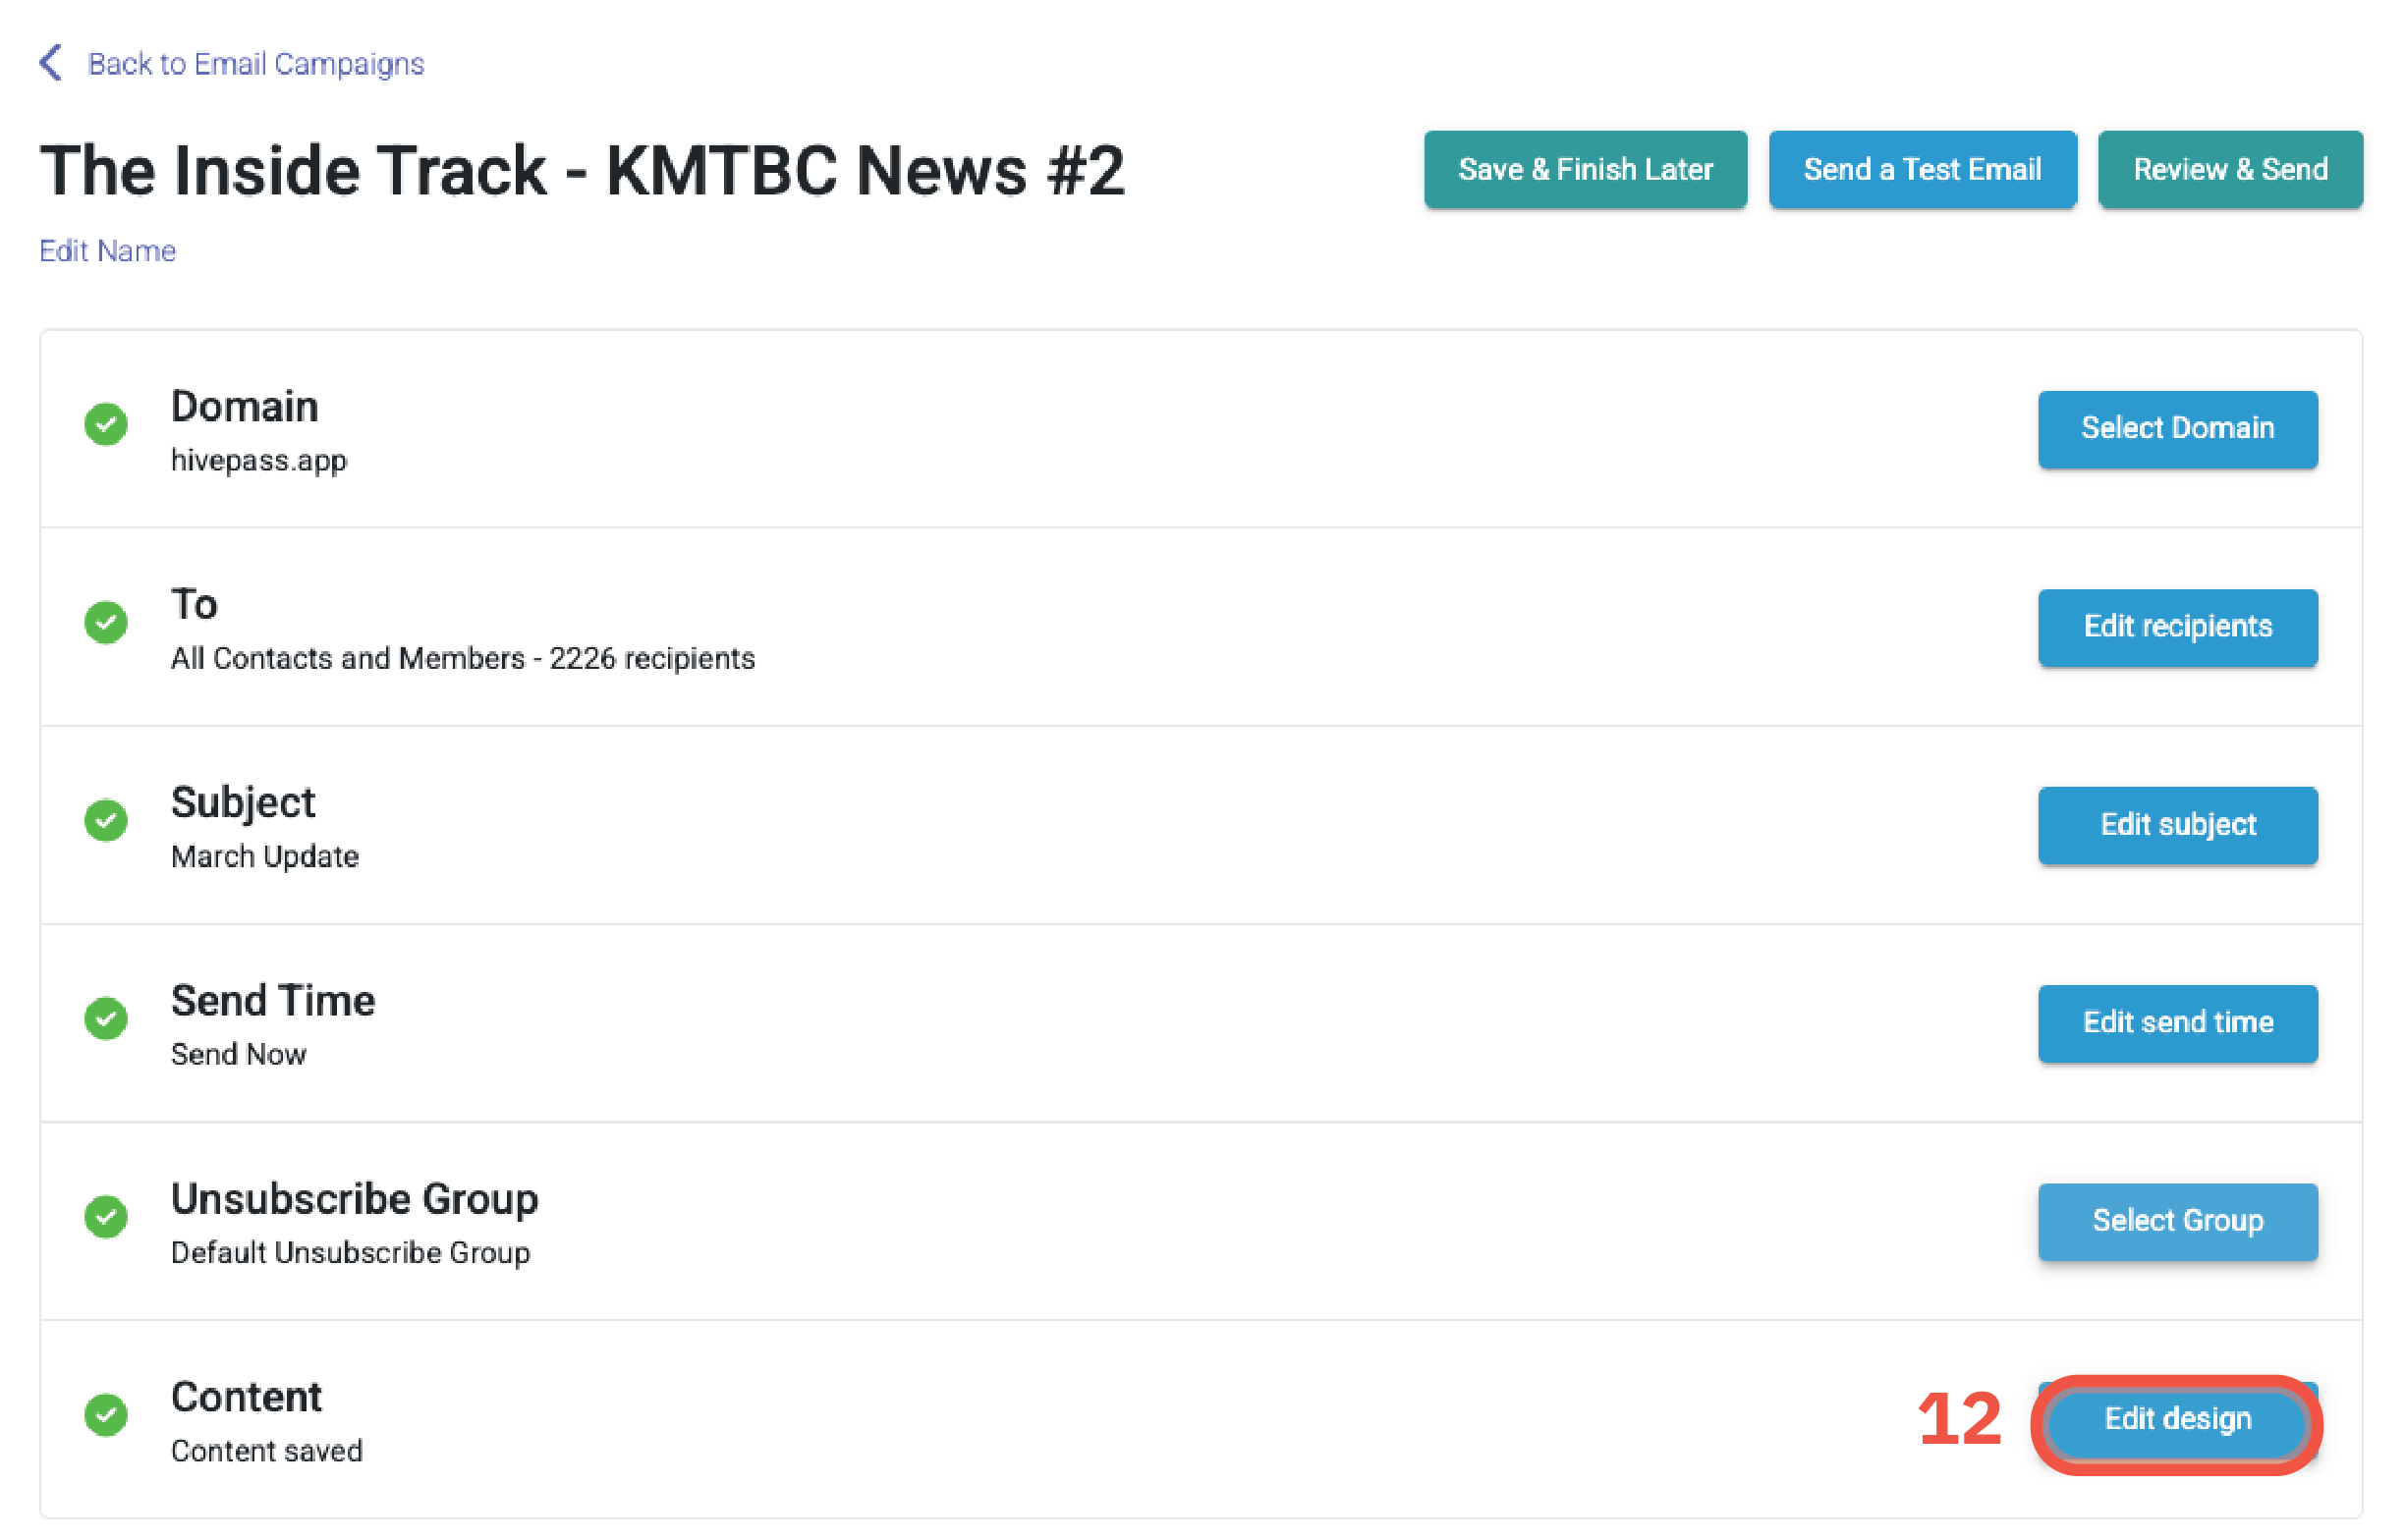


💡This settings list serves as a handy checklist before sending an email. Each tick will turn green when a setting is complete.
➡️ Sending the campaign
Sending immediately
- Once you have finished editing your newsletter, select Save & Exit. This will return you to the settings page for the campaign.
- If you're ready to send, select Review & Send in the top right. Here you can preview the email.
- Press Send. The email will be sent within 15 minutes.
- On the email campaign overview page, a clock icon will show in the Status column whilst the email is waiting for the system to send it.
Scheduling
If you didn't already set this up before editing the content, you can do this now.
- Once you have finished editing your newsletter, select Save & Exit. This will return you to the settings page for the campaign.
- Select Edit Send Time to change
- Once you're happy with the sending time, select Schedule Campaign at the top right. Here you can preview the email.
- Press Schedule Now.
- On the email campaign overview page, a clock icon will show in the Status column. Hover over the clock to see the set sending time. Also, a timer will show - hover over this icon for the time remaining until sending.

Unscheduling
At any time before a scheduled email sends, it is possible to unschedule the campaign by clicking on the title and selecting the red Unschedule button in the top right, or by editing the send time.
Once this is done, you'll be taken back to step 3 above.

🏁 What next?
Statistics
Once your email campaign has been sent, you can sit back and see how well it is received by reviewing the comprehensive statistics Hivepass automatically tracks. For more information on how this works, see the statistics and limits article.
Duplicating the email campaign
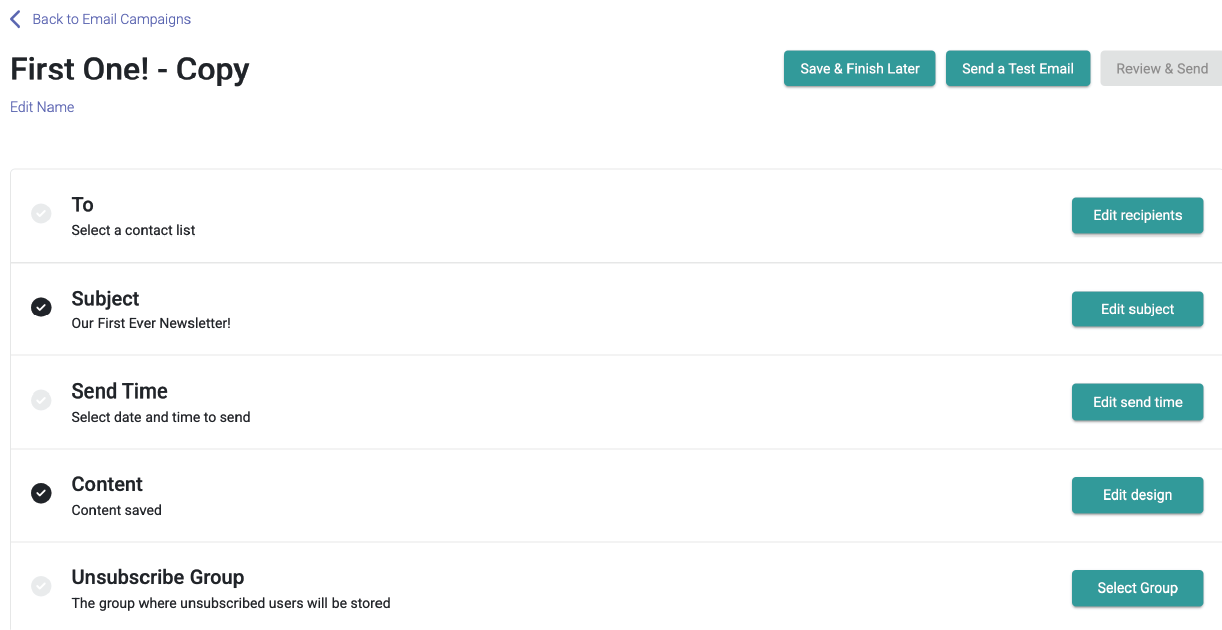
Once your email is sent, you can duplicate it using the three dots on the main Email Campaigns page.

This will copy the campaign in its entirety, but you will need to rename it and go through the settings to update as required. The newsletter template ('Edit design') can then be edited as normal.
💡Particularly handy for monthly or quarterly emails so you don't need to reinvent the wheel each time!