
Setting up a digital waiver
Enable, customise, and manage digital waivers for your trail network or events directly in Hivepass.
In this article
- 🔧 Turning on digital waivers
- 📜 Creating and customising your waiver
- 📦 Linking waivers to membership types
- ✅ What your members will see
- 👀 How to view waiver status
- 📤 Manually sending a waiver link
🔧 Turning on digital waivers
If your organisation requires members to sign a digital waiver—for example, to access your trail network or attend an event—you can turn on this optional feature in your Hivepass Admin settings:
- Go to Settings > Application Settings
- Under Admin App, toggle Use Digital Waivers to ON.
- Click Save

You'll also need to configure your Waiver Settings:
- Go to Settings > Organisation Settings > Waiver Settings
- Select the relevant options (e.g. enforce waiver per visit)
- Adjust the legal adult age if needed (default is 18)
- Click Save

📜 Creating and customising your waiver
To create and customise your waiver:
-
Go to Settings > Waivers in the side menu
Click Add Waiver (top right corner)

In the Main tab:
- Add your main waiver copy
- Use the formatting buttons to highlight important sections
-
Toggle options for re-signing requirements (e.g. per visit, daily)

- In the Links tab, add any URLs you want to include
- In the QR Code and URL tab, generate a QR code and link unique to this waiver—great for events or location-specific waivers
- Click Save


To view members who have signed the waiver:
- Go to the Members Agreed tab within your waiver

📦 Linking waivers to membership types
If your waiver is required for a membership type:
- Go to Settings > Memberships Settings
- Select the relevant membership type
- Click on the Advanced tab
- Tick Has a mandatory Digital Waiver
- Select your waiver from the dropdown menu
- Click Save

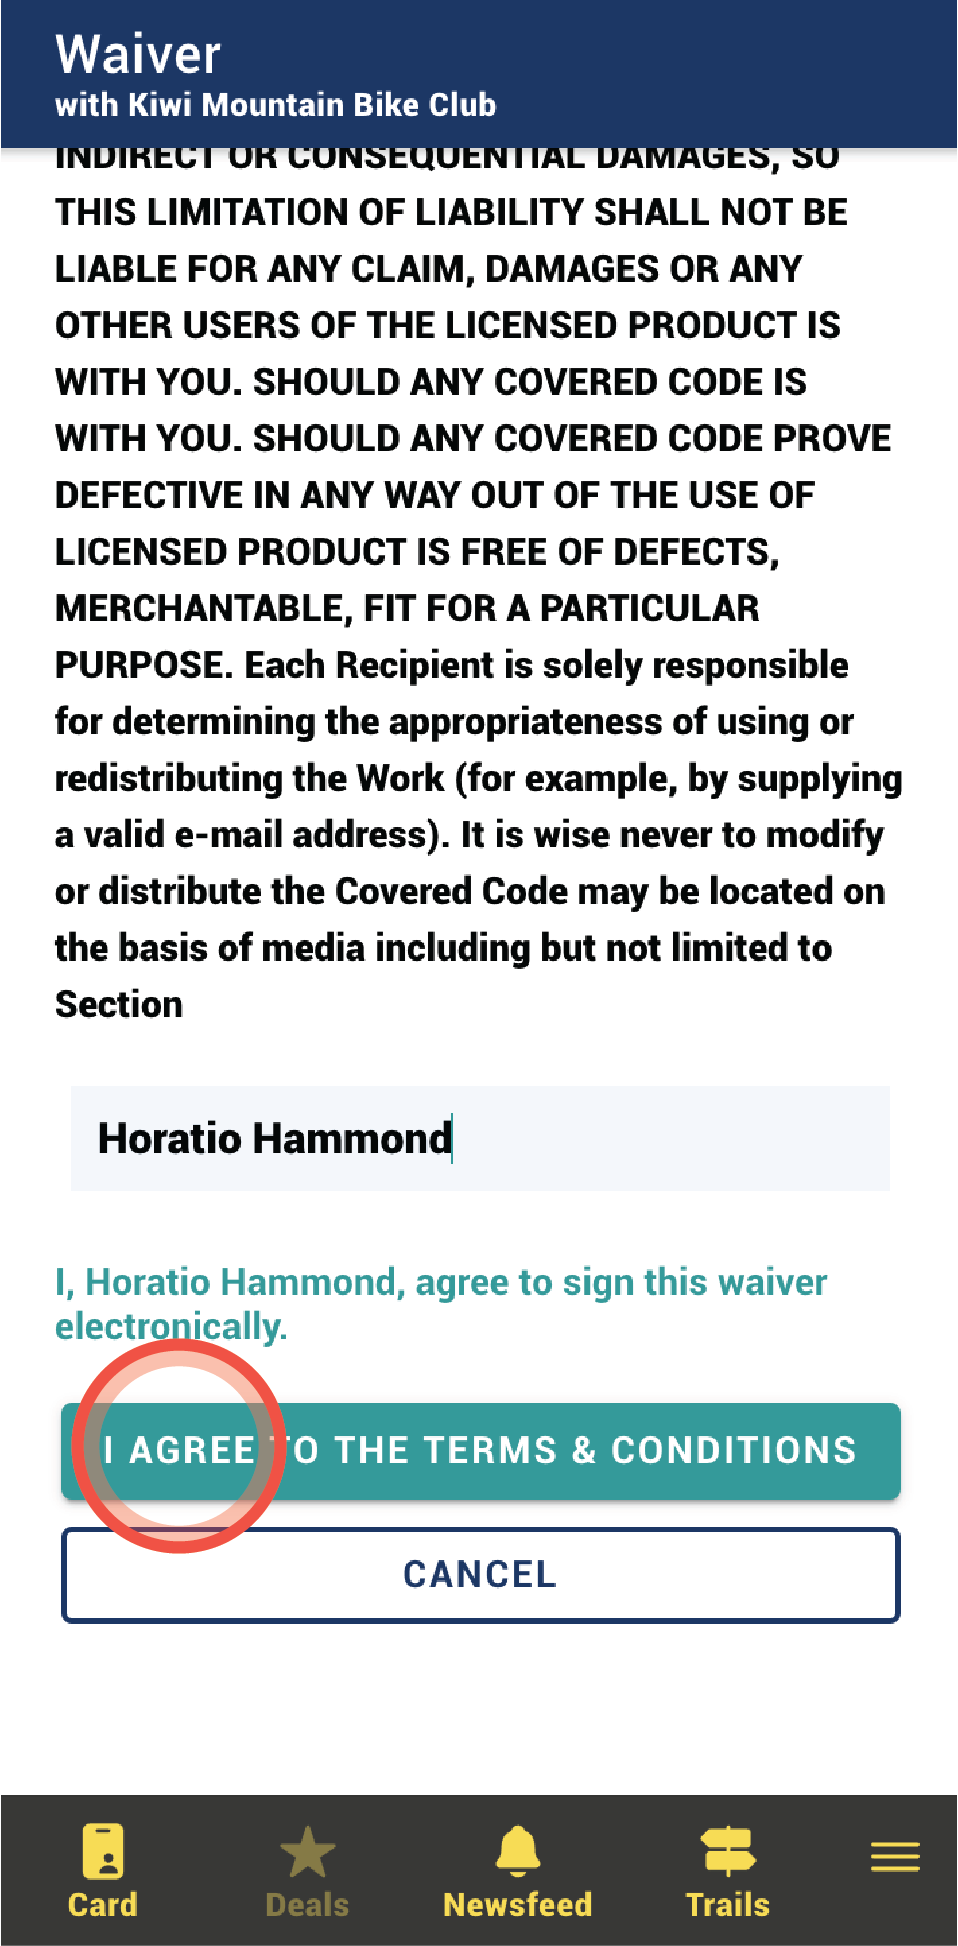
✅ What your members will see
Members will be prompted to sign the waiver by:
- Entering their full name
- Checking "I agree to the terms and conditions"
👀 How to view waiver status
You can check whether a member has signed a waiver in two ways:
- In the Members List:
- Look under the Attributes column
- A green icon means the waiver has been agreed to
- A red icon means it hasn't been signed
- Hover over the icon for more detail

Note: If there is no icon, the member's package doesn't require a waiver.
- In a specific member's profile:
- Click their member number to open the profile
- Navigate to the Waiver Transactions tab
- View whether they (or a parent/guardian) has agreed to the waiver

If a waiver request sent to a parent or guardian is still pending, it will appear here with the following details:
- Date the request was sent
- Parent or guardian's name
- Email address

If a waiver request sent to a parent or guardian is still pending, it will appear with the date sent, the name of the parent/guardian, and their email address.
To resend the request, simply click Resend and confirm.

📤 Manually sending a waiver link
If needed, you can manually copy and send a waiver link via email or another platform:
- Go to Settings > Waivers in the Admin App side menu
- Select the relevant waiver
- In the top menu, go to Outstanding Waivers > View Outstanding Waivers
- Click the three dots next to the user and select Copy URL
- Paste the link into your email or message
